
Overview
The Voron 3D Printer is a distinguished open-source 3D printing platform known for its high-quality prints, reliability, and innovative design. Utilizing a CoreXY motion system, it offers exceptional printing speed and precision, making it ideal for both enthusiasts and professionals. The CoreXY system reduces moving mass, enabling faster and more accurate prints compared to traditional Cartesian printers.
A key feature of the Voron 3D Printer is its modular build and enclosed structure, which minimizes warping and maintains a stable temperature, particularly beneficial for materials like ABS and Nylon. This ensures consistent print quality and reduces print failures.
The modular nature of the Voron allows for extensive customization and upgrades, enabling users to tailor the printer to their specific needs. Whether adding a second extruder for multi-material printing or upgrading to a higher precision hotend, the possibilities are vast.
Building a Voron 3D Printer also means joining a vibrant and supportive community. The Voron community thrives on shared knowledge, continuous improvement, and collaboration, providing a wealth of resources, from detailed build guides and troubleshooting tips to firmware updates and new design innovations.
Modifications I Made to the Original Voron V2.4:
- VORON TAP: An excellent leveling design featuring a tiny linear rail and a photo sensor, providing incredible 0.4μm (0.0004mm) bed leveling accuracy.
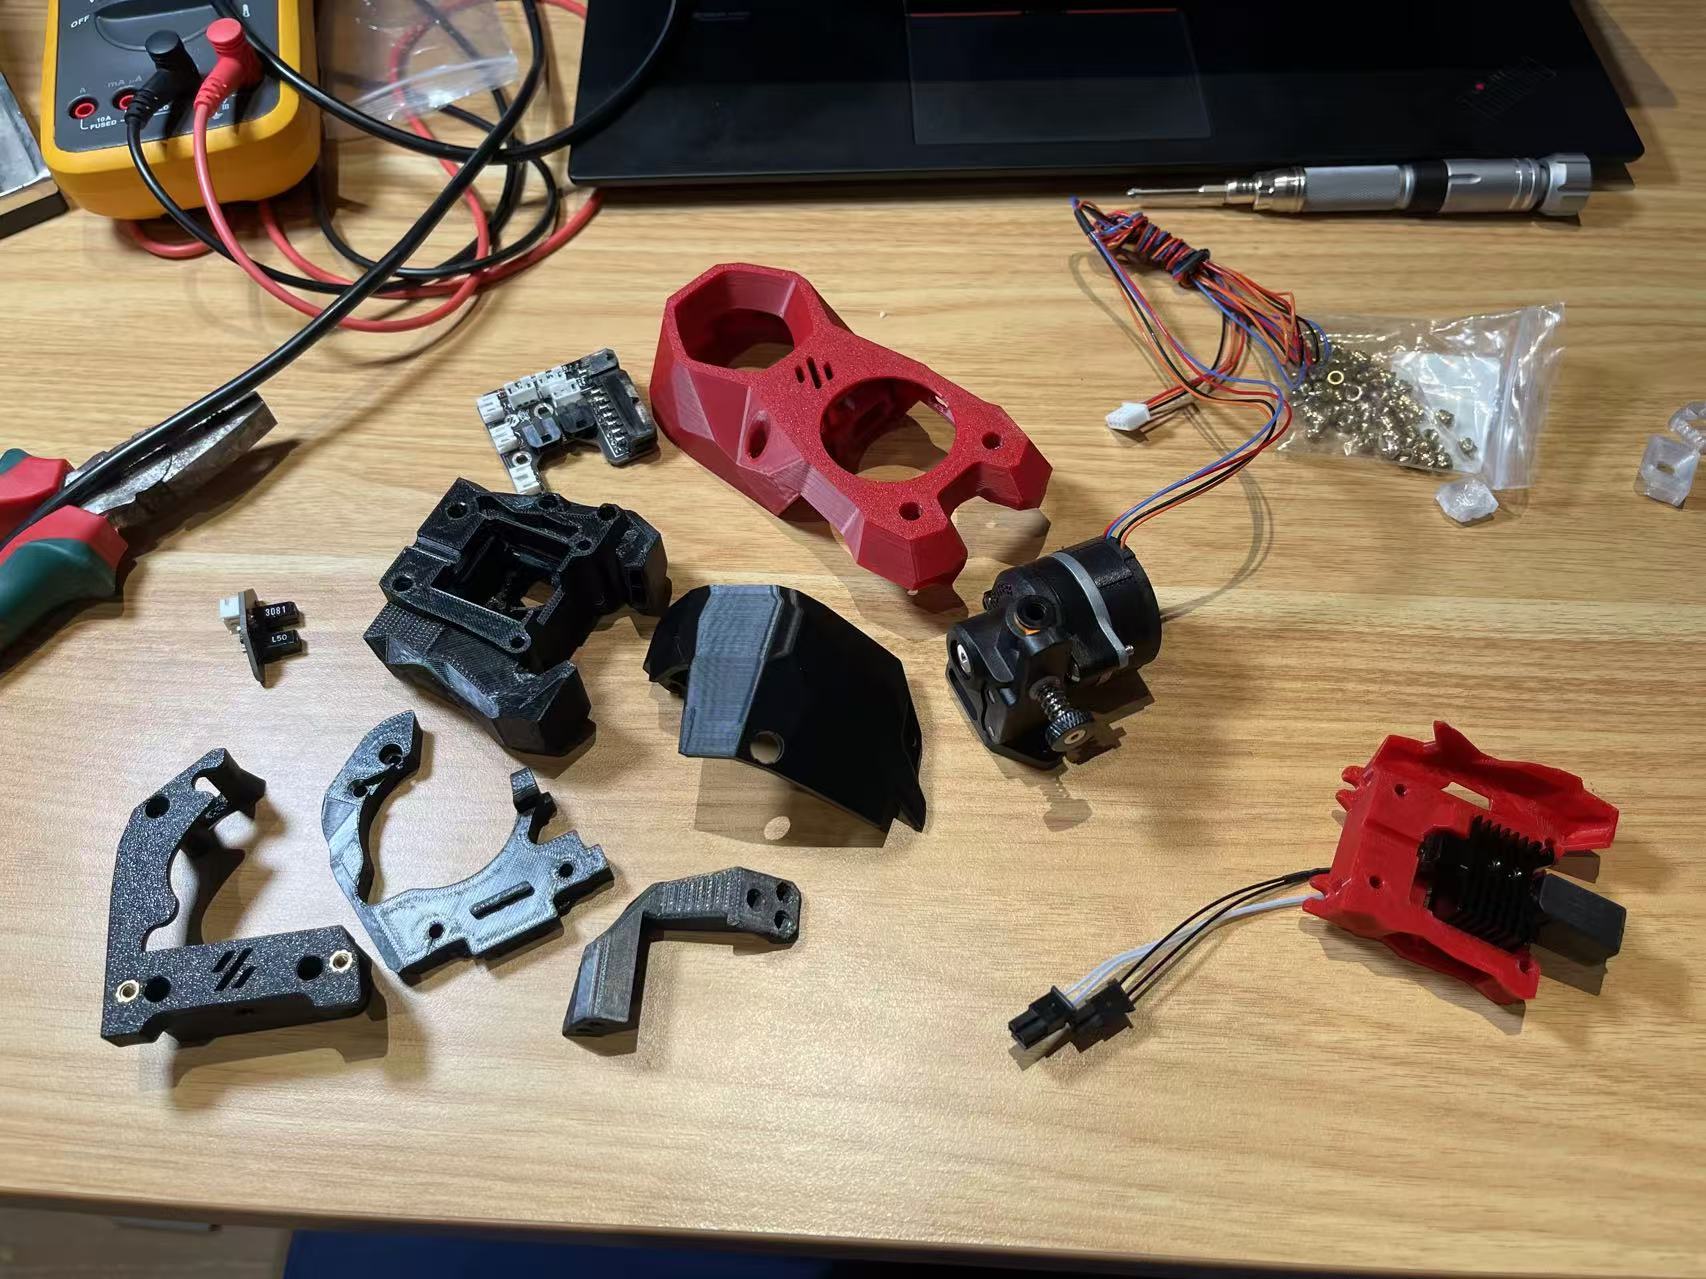
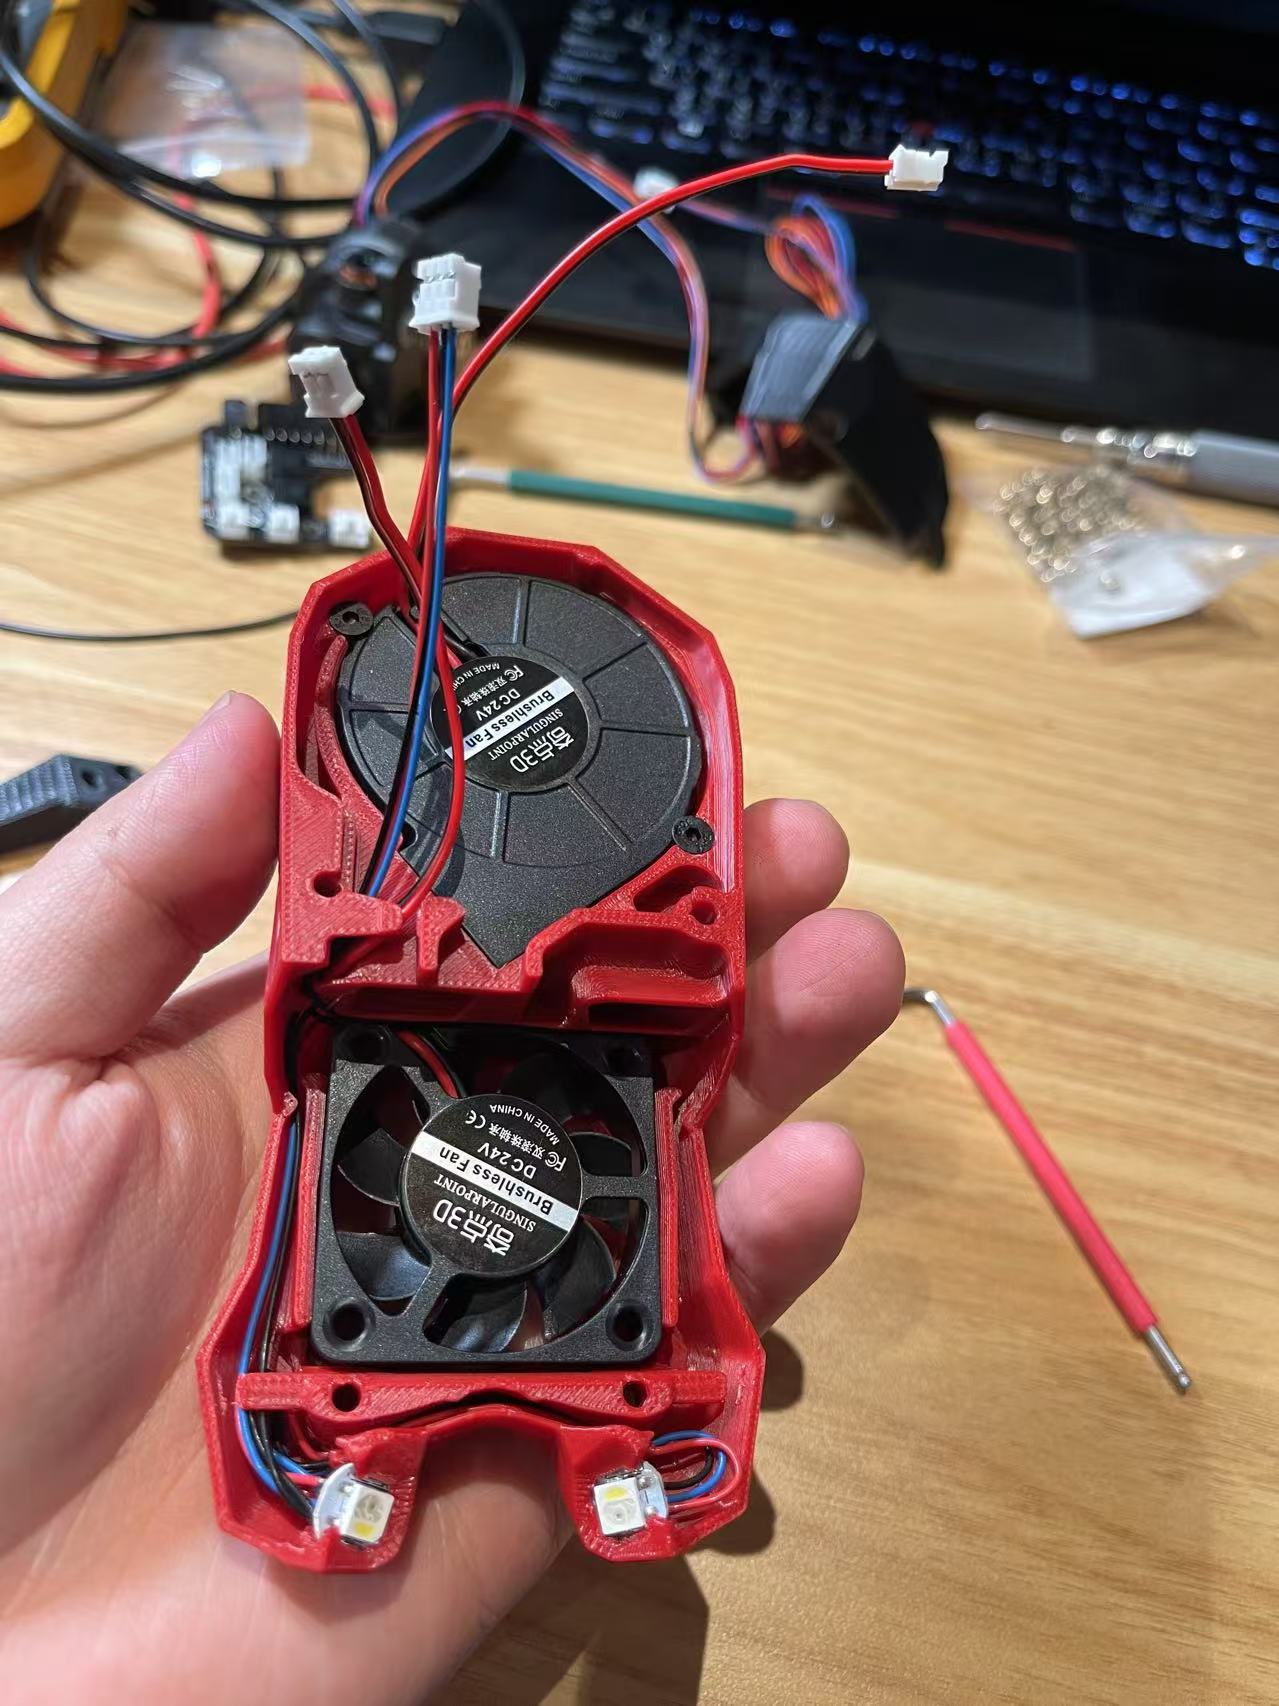
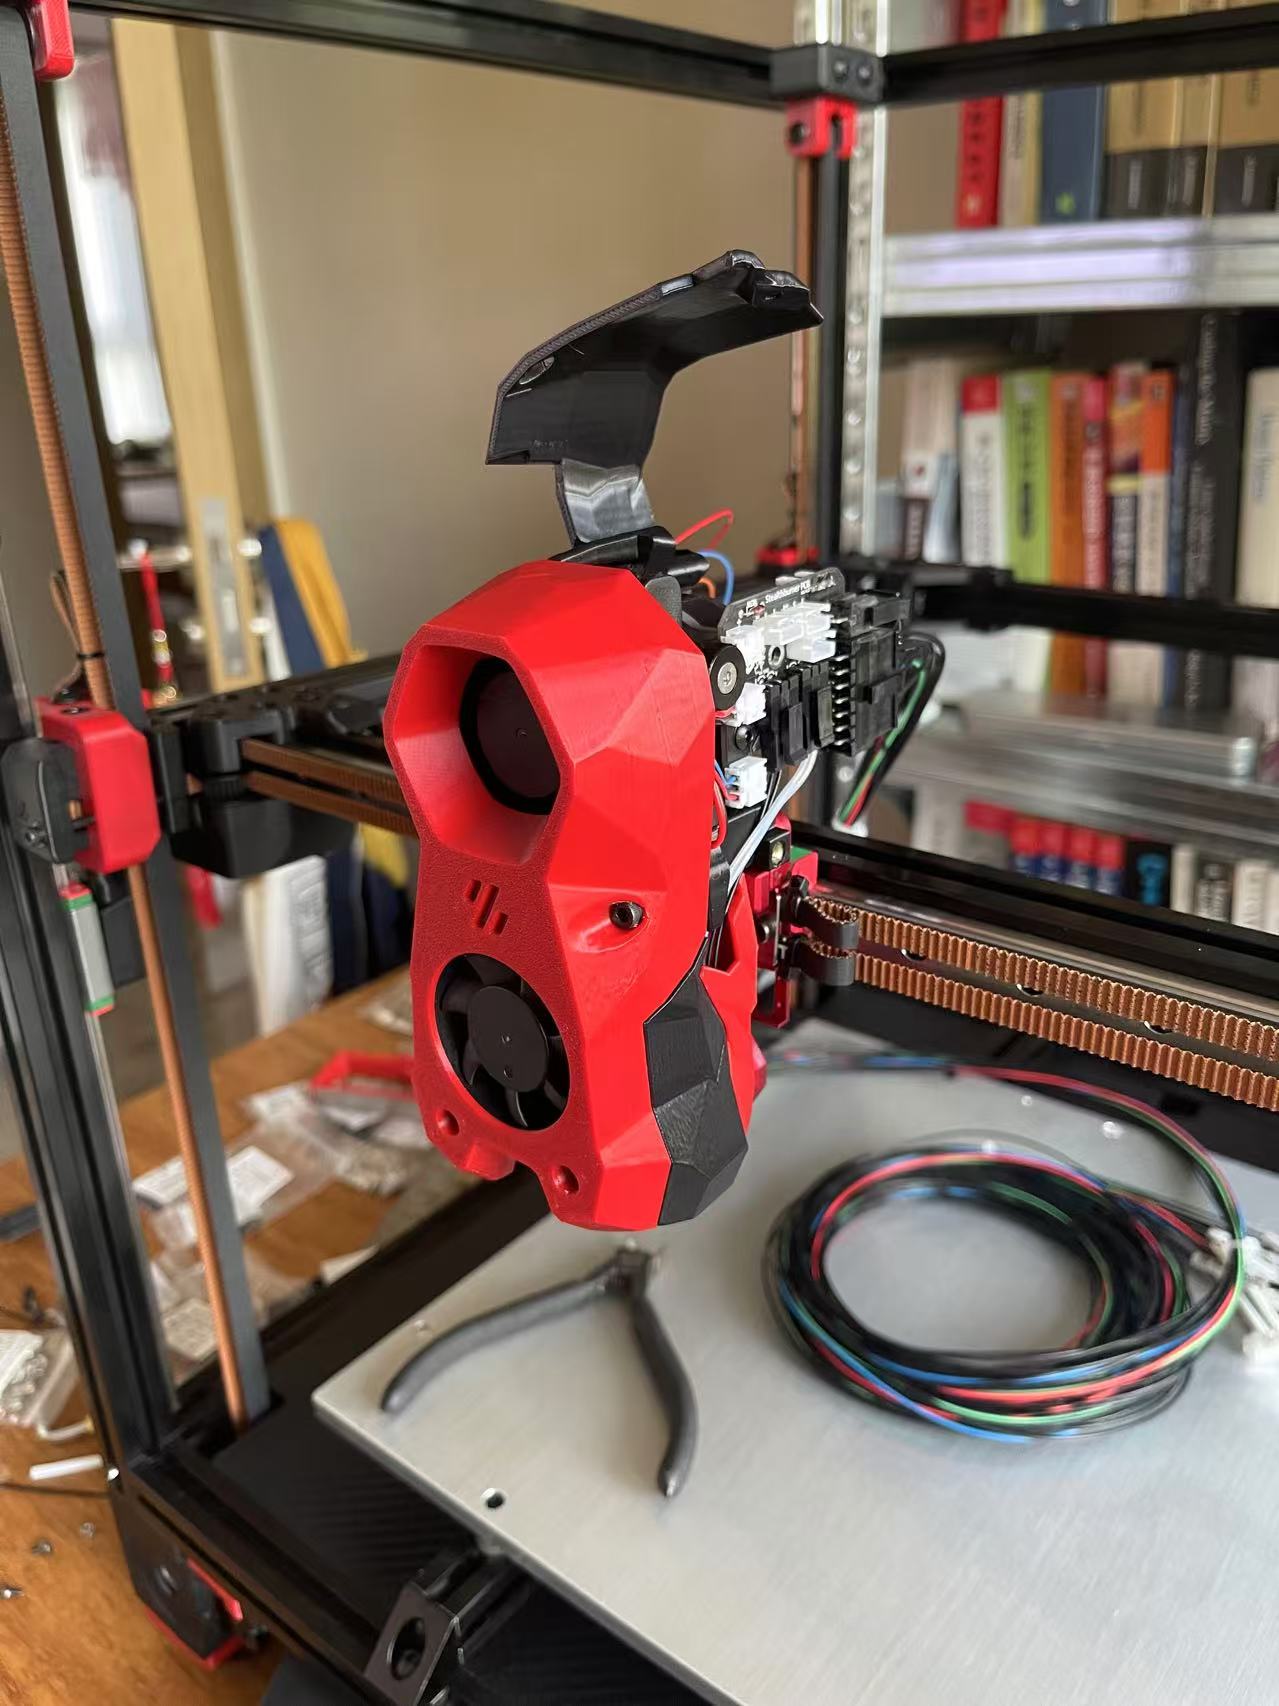
- VORON StealthBurner: Updated print module with dual airflow channels for improved cooling efficiency.
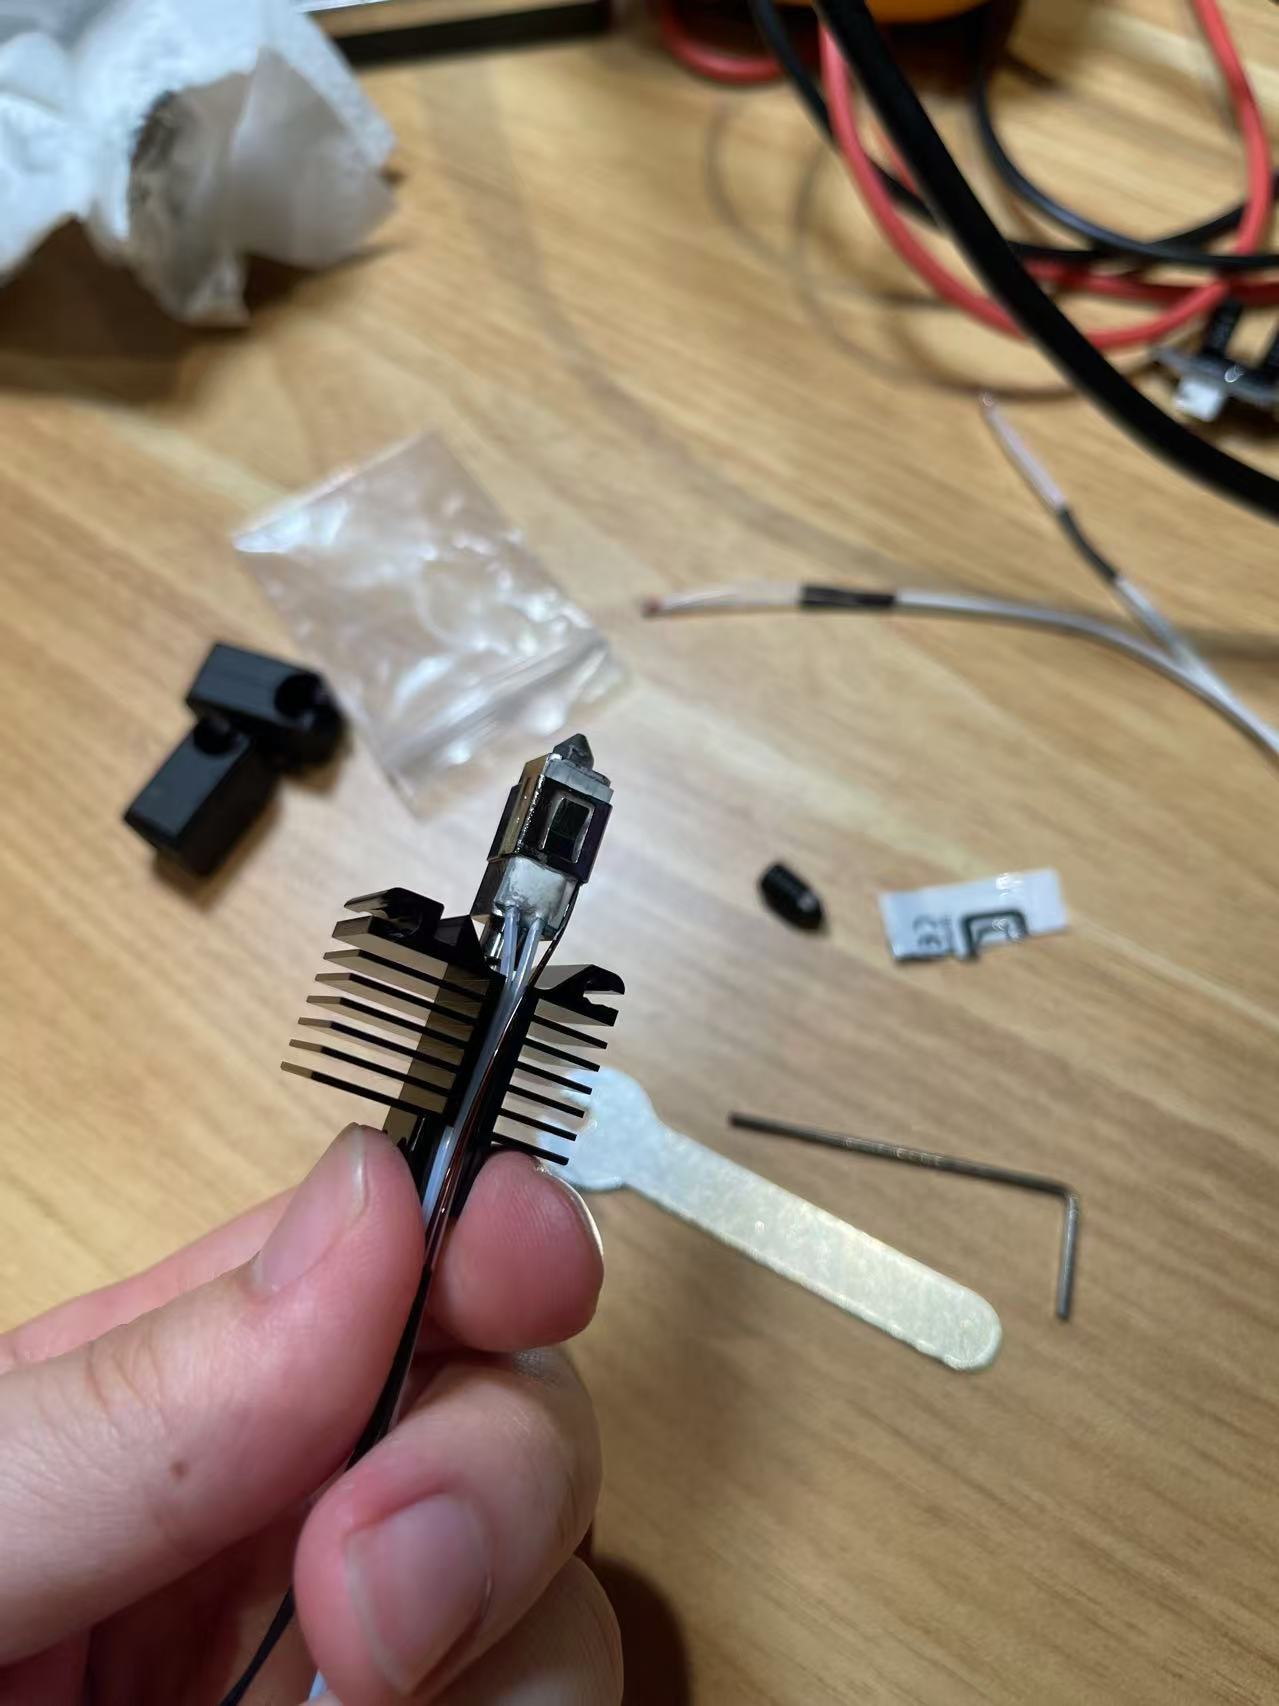
- Modified StealthBurner with Bambulab Tip: Bambulab’s extruder design offers a high flow rate for increased printing speed. The compact print head ensures faster heat-up times and stable temperatures.
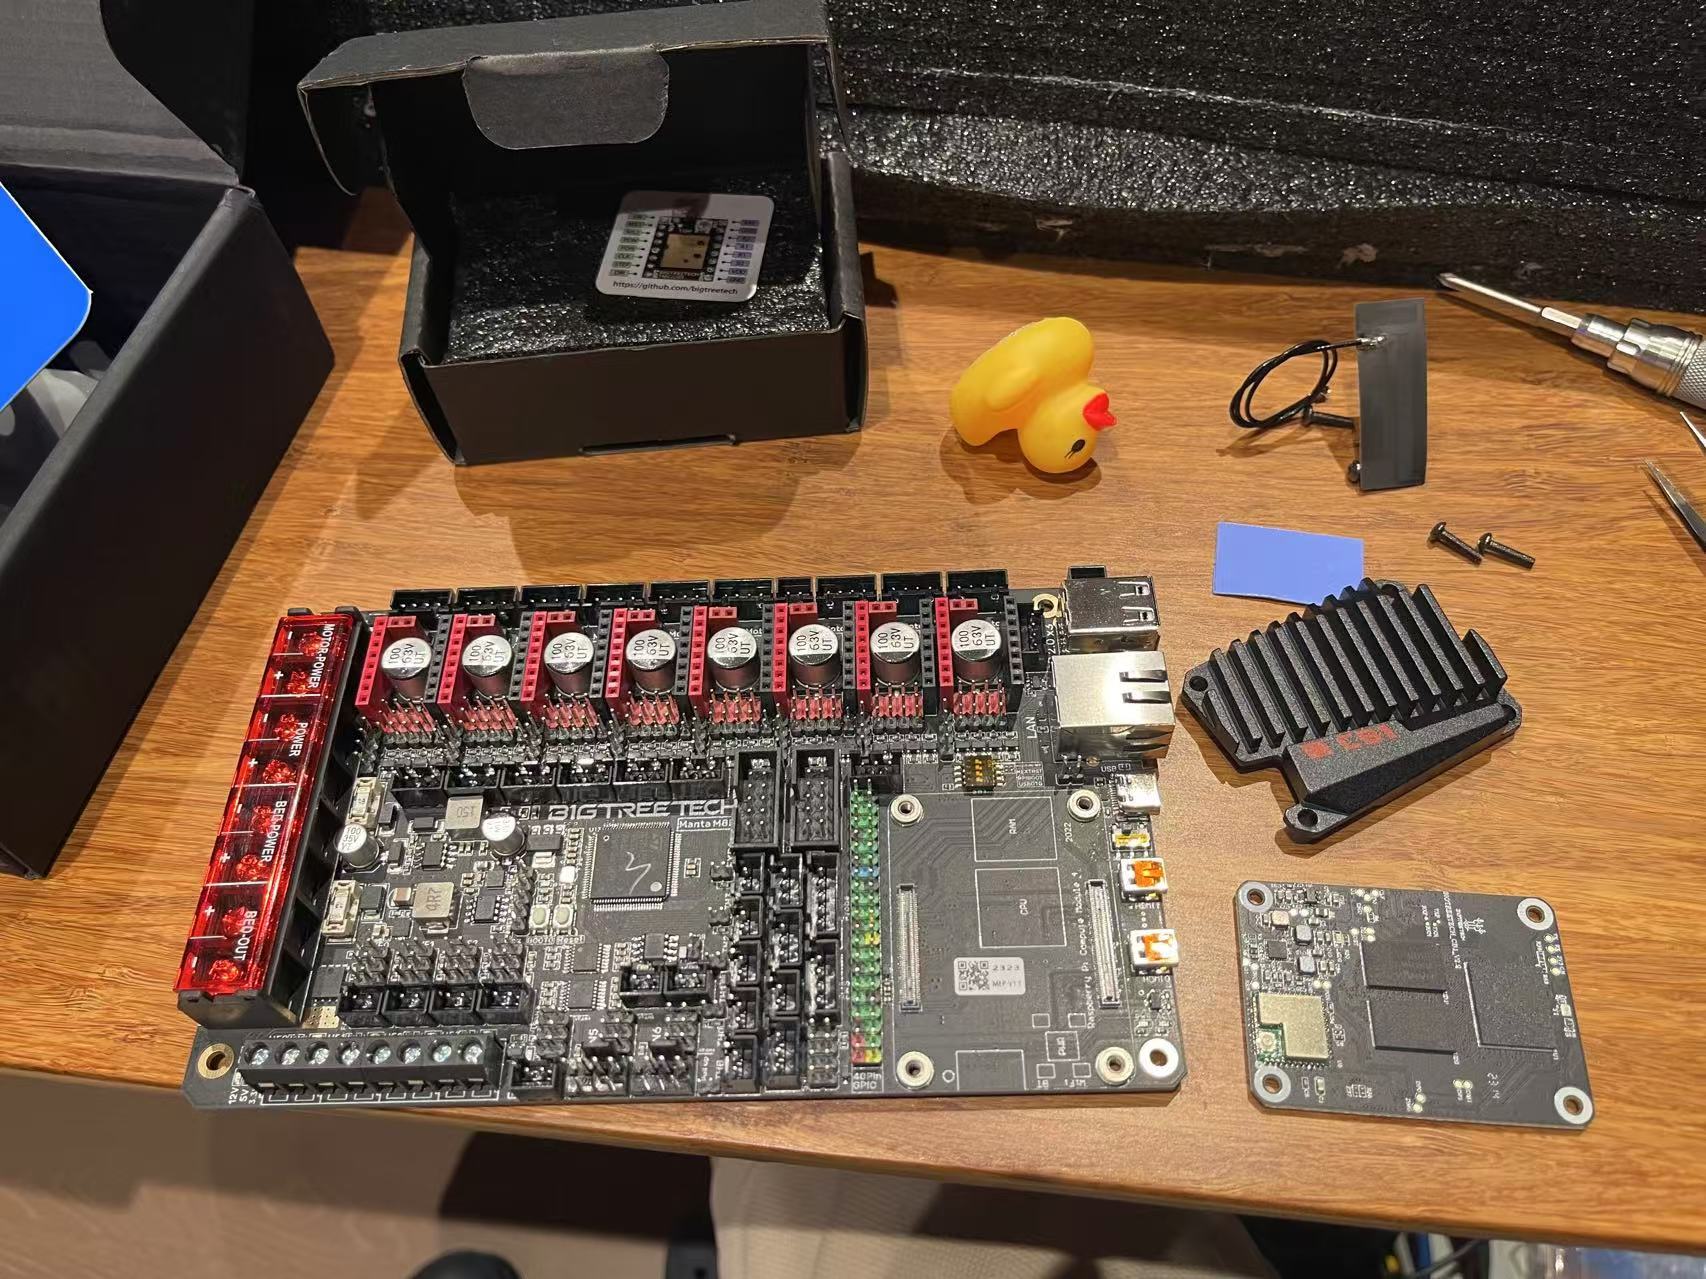
- Bigtreetech Manta-M8P Controller: An all-in-one controller board integrating a Cortex A Series SoC and STM32 controller, simplifying wiring and software setup.
- CAN Bus Hotend: Reduces the number of wires (fans, heating element, thermometer, stepper motor, LED) between the hotend and controller to just four wires: power and CAN bus.
- Larger Screen: A 7-inch touch display for an enhanced Klipper interface experience.
- Accelerometer: Improves high-speed printing performance by reducing structural resonance through high-speed resonance rejection.
- Small Web Camera: Enables remote access and monitoring of the printing process.
- LED Strip: Enhances printing status visibility and overall aesthetics.
Notable Challenges
This is where the real fun and challenge of building an exceptional printer come in.
- Extensive Modifications: Implementing numerous modifications to the original design required significant research, meticulous planning, and thorough cross-referencing to ensure a smooth build process.
- Klipper Familiarization: Acquainting myself with Klipper involved working with numerous settings, extensive testing, calibration, and optimization. This process included substantial debugging, wiring checks, fixes, and resolving error messages along the way.
- CAN Bus Hotend Setup: Setting up the CAN bus hotend presented several challenges, including communication issues and dealing with poorly documented firmware and hardware versions. This required more effort than initially anticipated.
Key Takeaways from My Voron Build
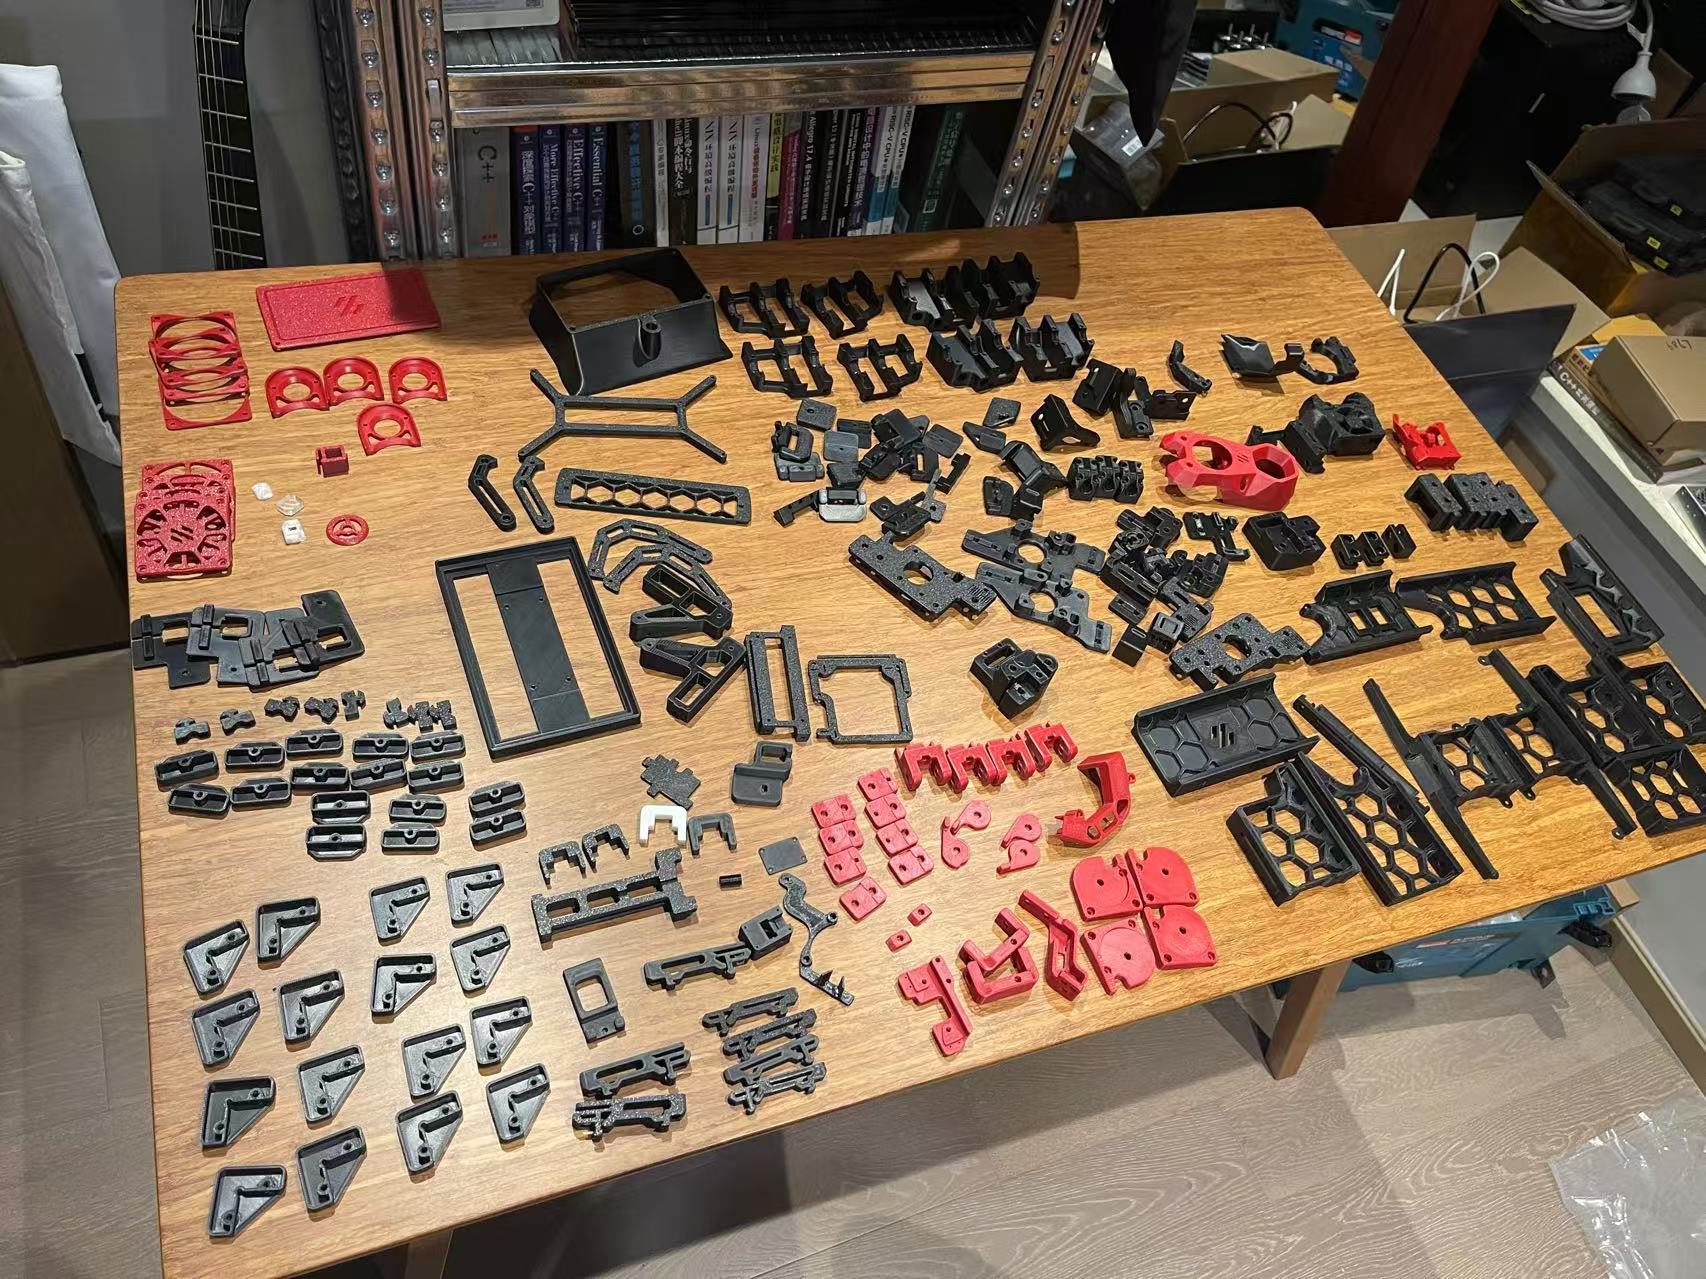
- The Voron is primarily built from 3D printed parts. The design is so ingenious that it can be printed almost without any supports, yet it offers excellent tolerance control and durability. The assembly process and the use of strong metal parts in conjunction with printed components were particularly enlightening. I learned a great deal from building the Voron, including techniques for controlling printed part tolerances and ensuring reliability and durability.
- Gained a deeper understanding of the intricate details that make a 3D printer work, which are often taken for granted in consumer 3D printers.
- It is an excellent and thriving community, constantly generating new ideas and approaches for improving the existing printer and its methods of solving problems.
Build Process
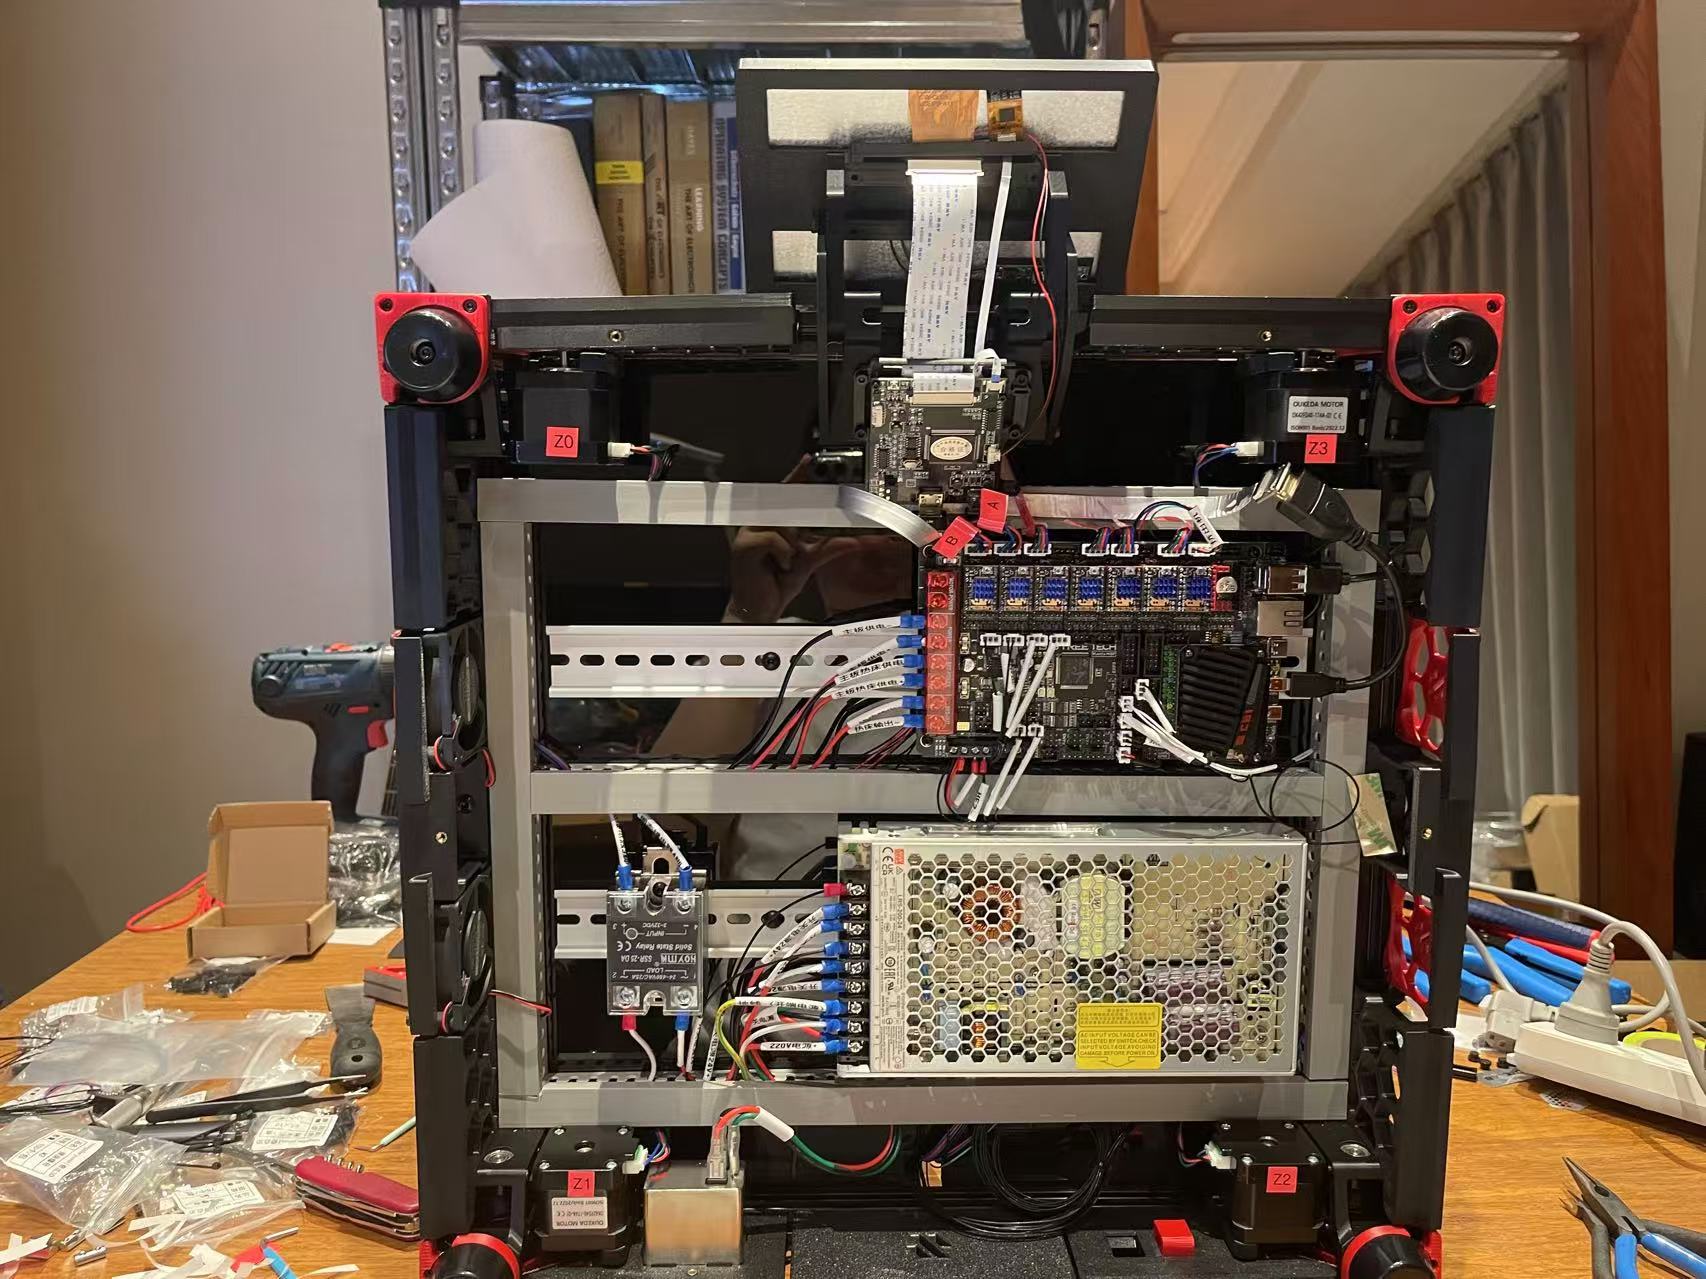
M8P (STM32 Controller Board, and C1B SoC on One Board)
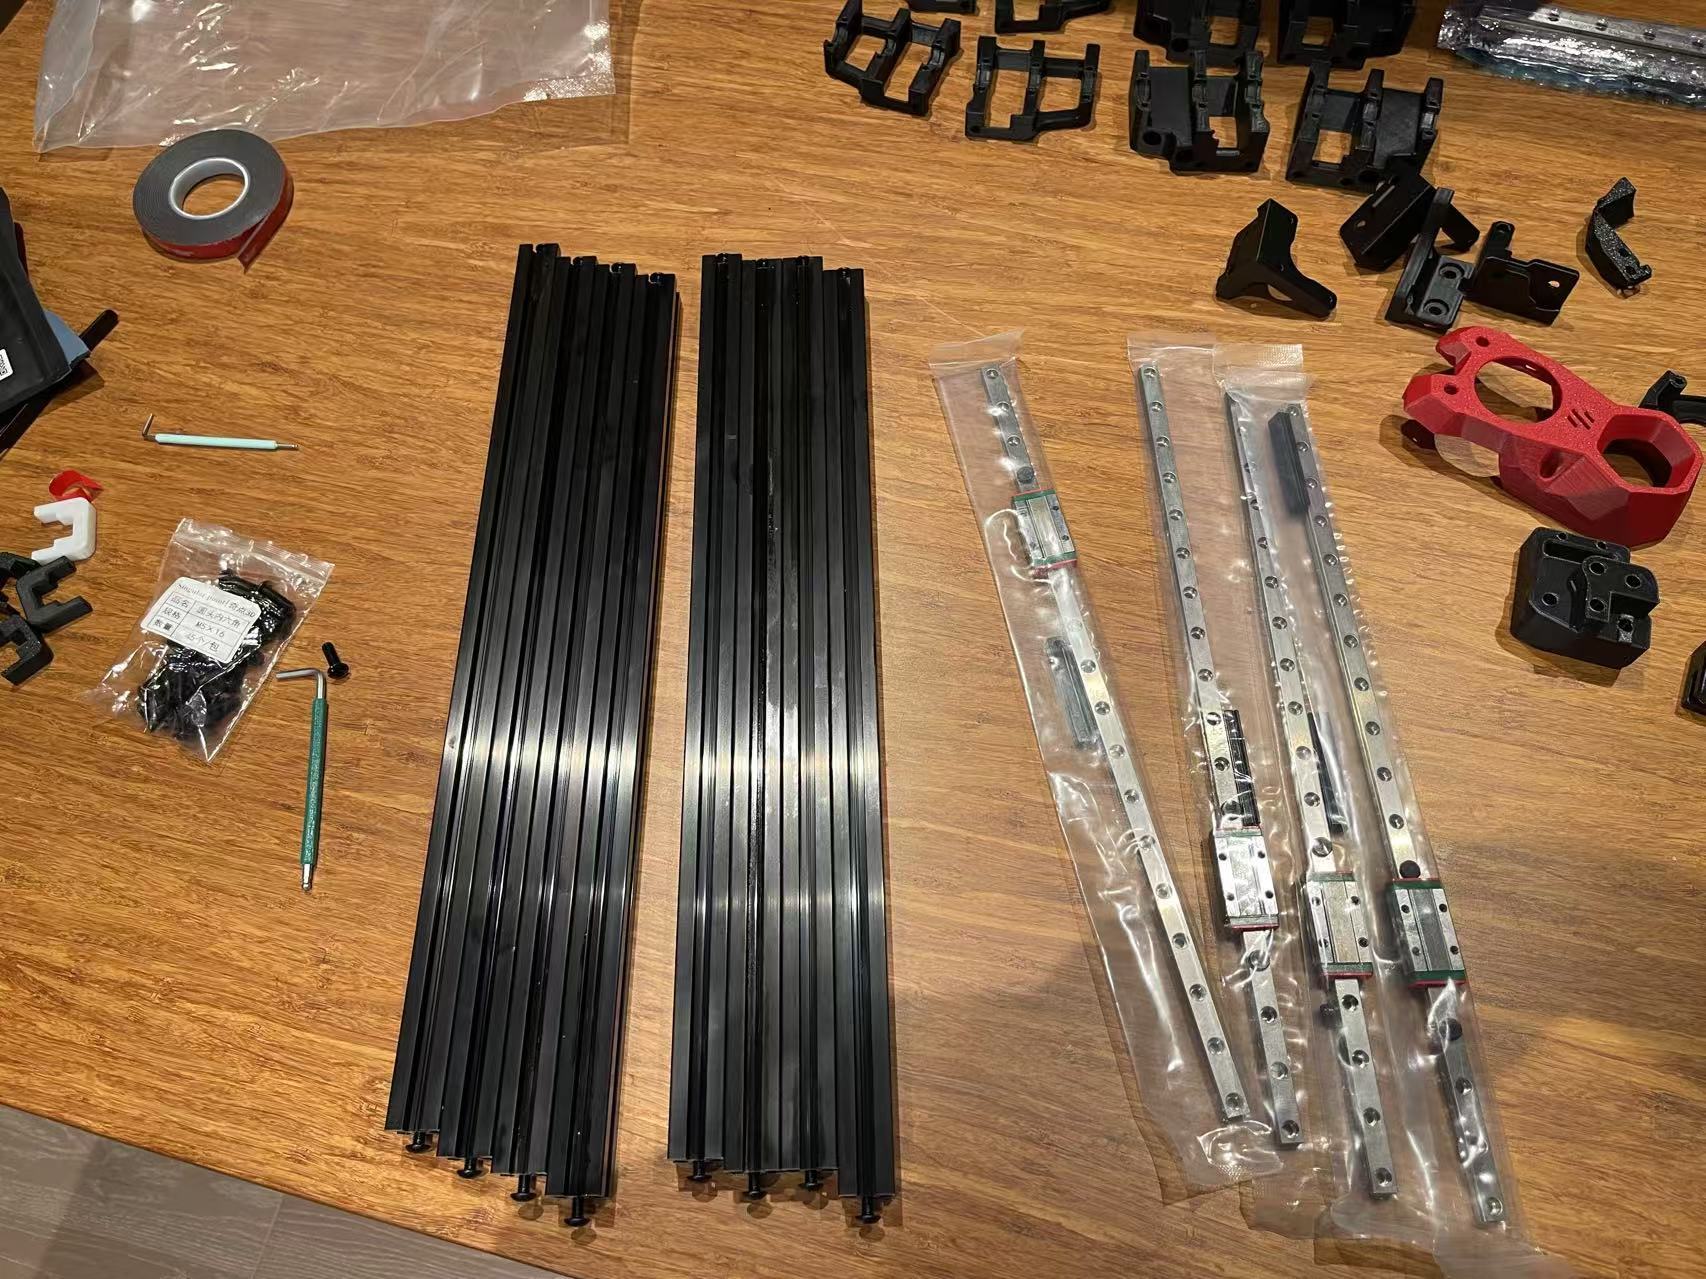
Frame 2020 Extrusion and High-Quality Linear Rails
All the Printed Parts (Quite a lot when you put them all side by side)
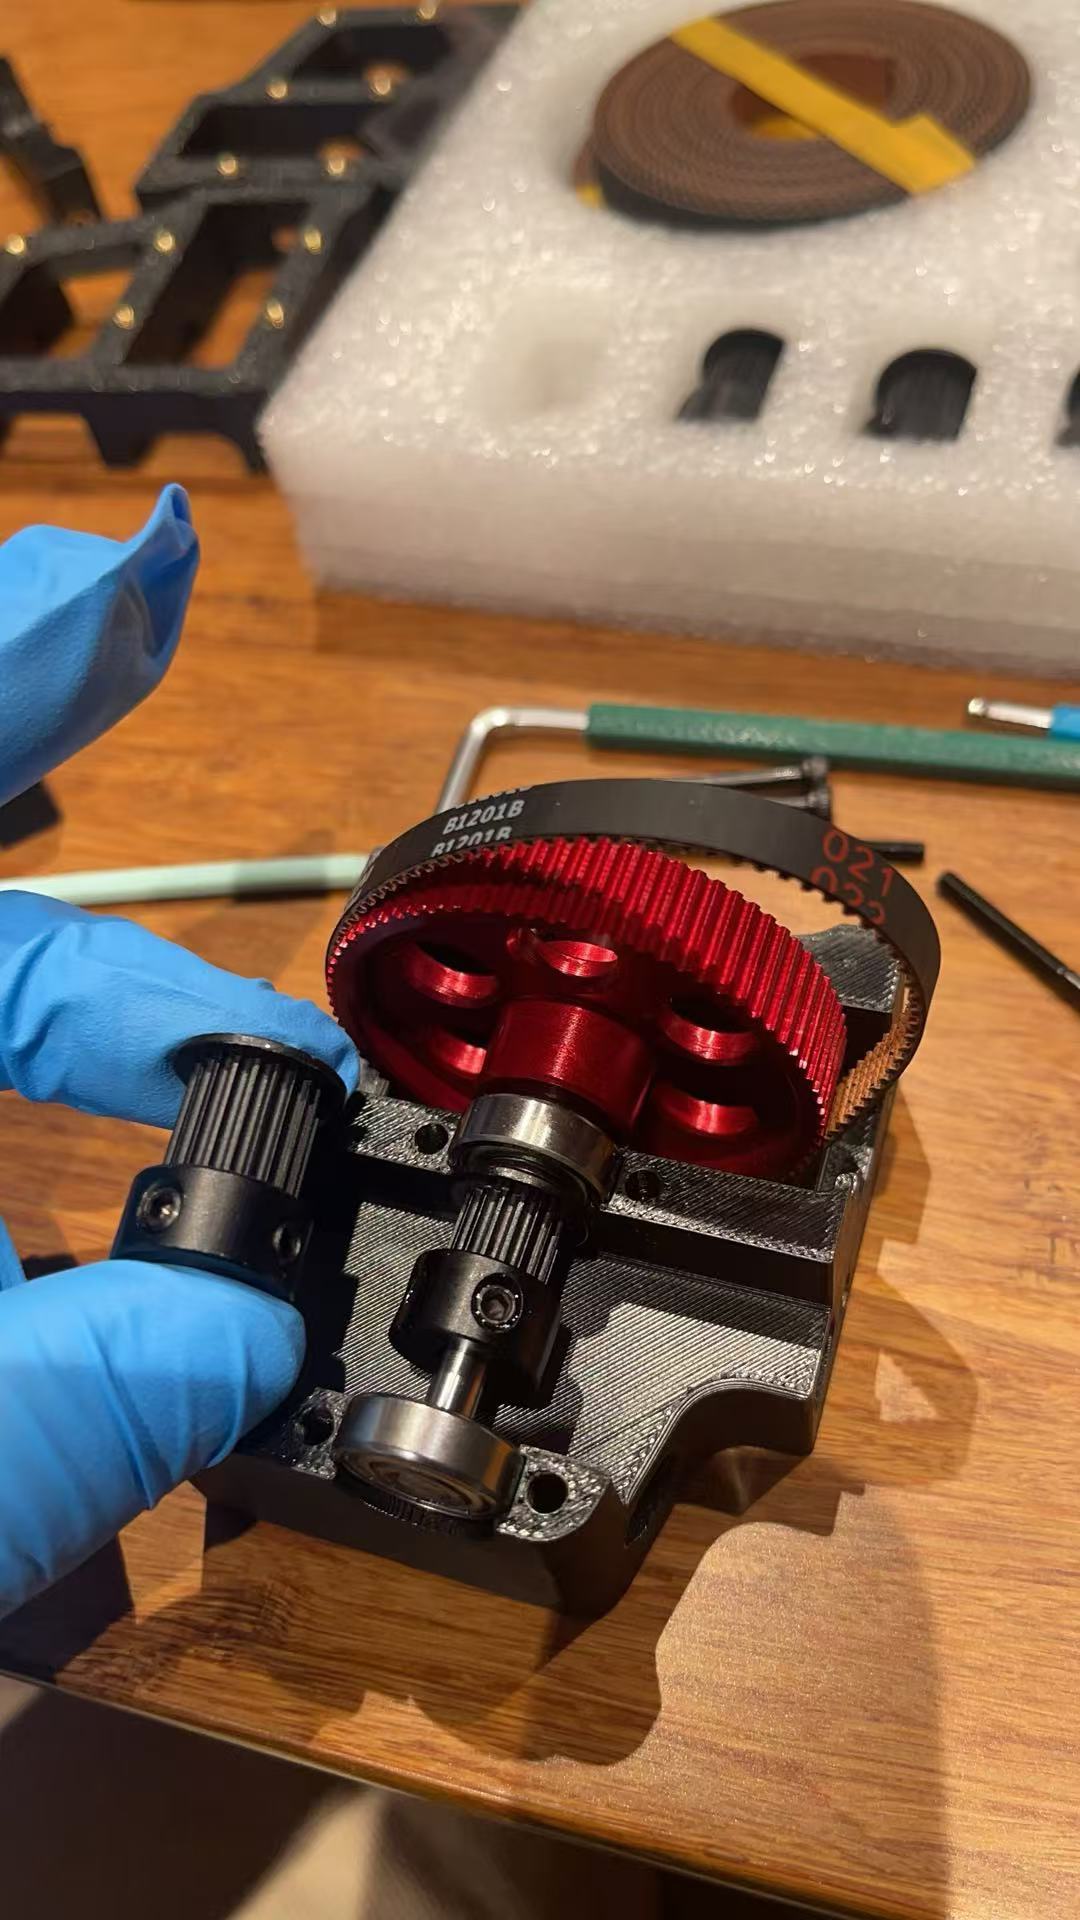
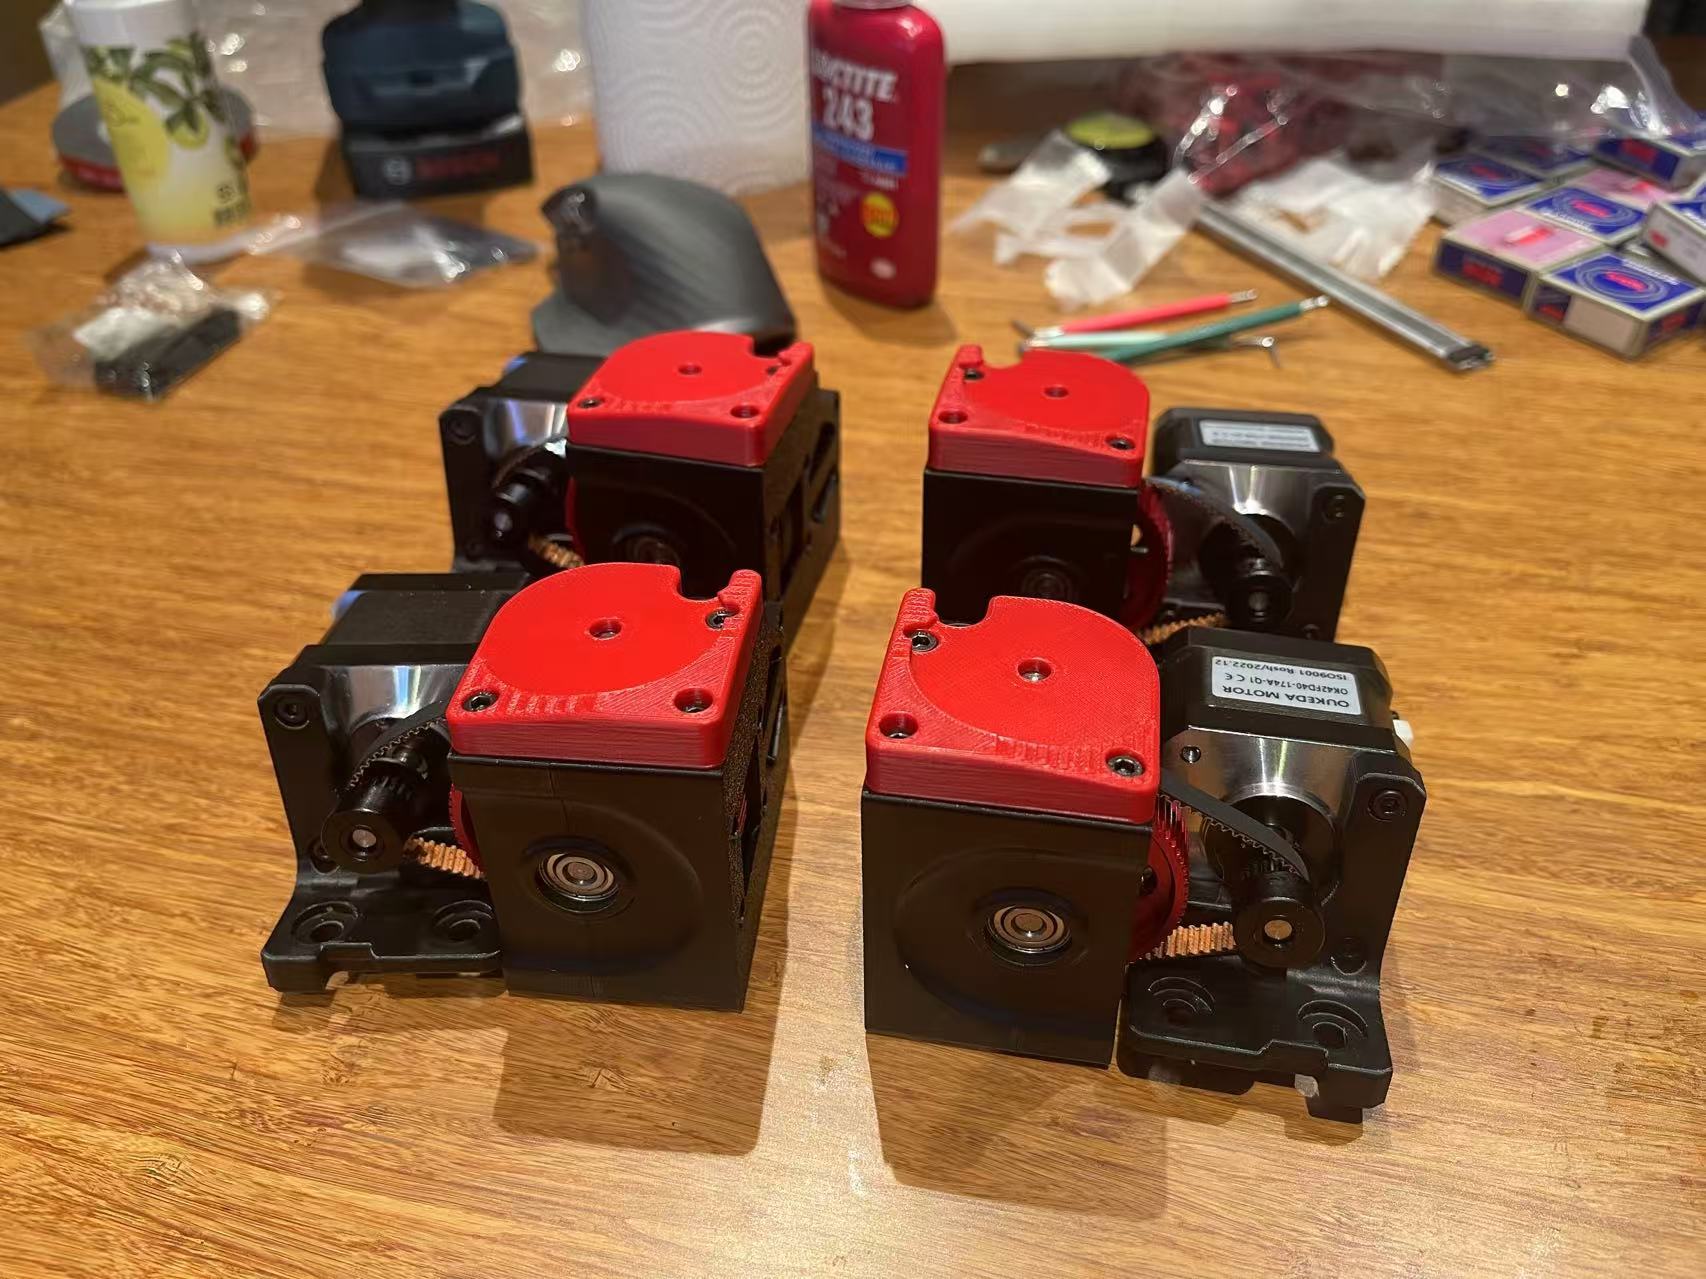
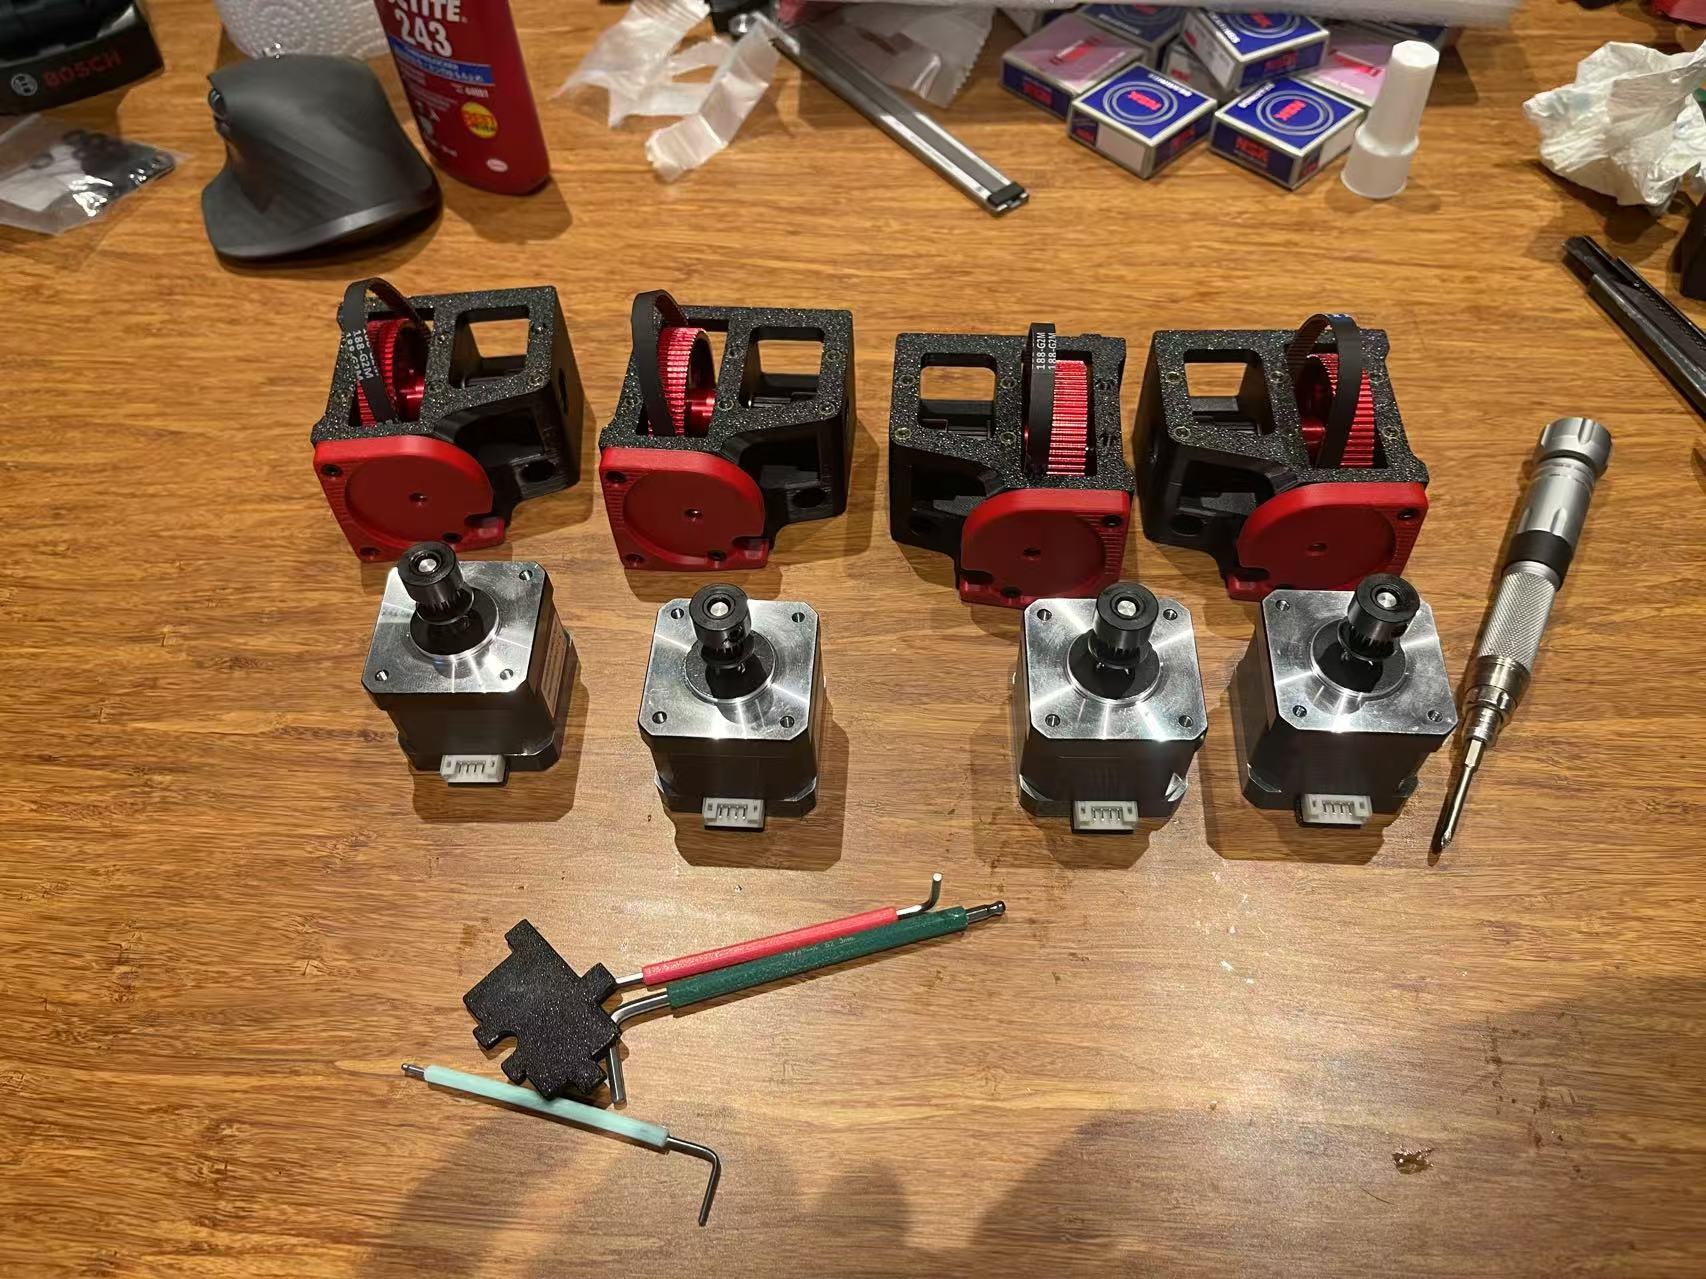
Z Axis Belt Drive
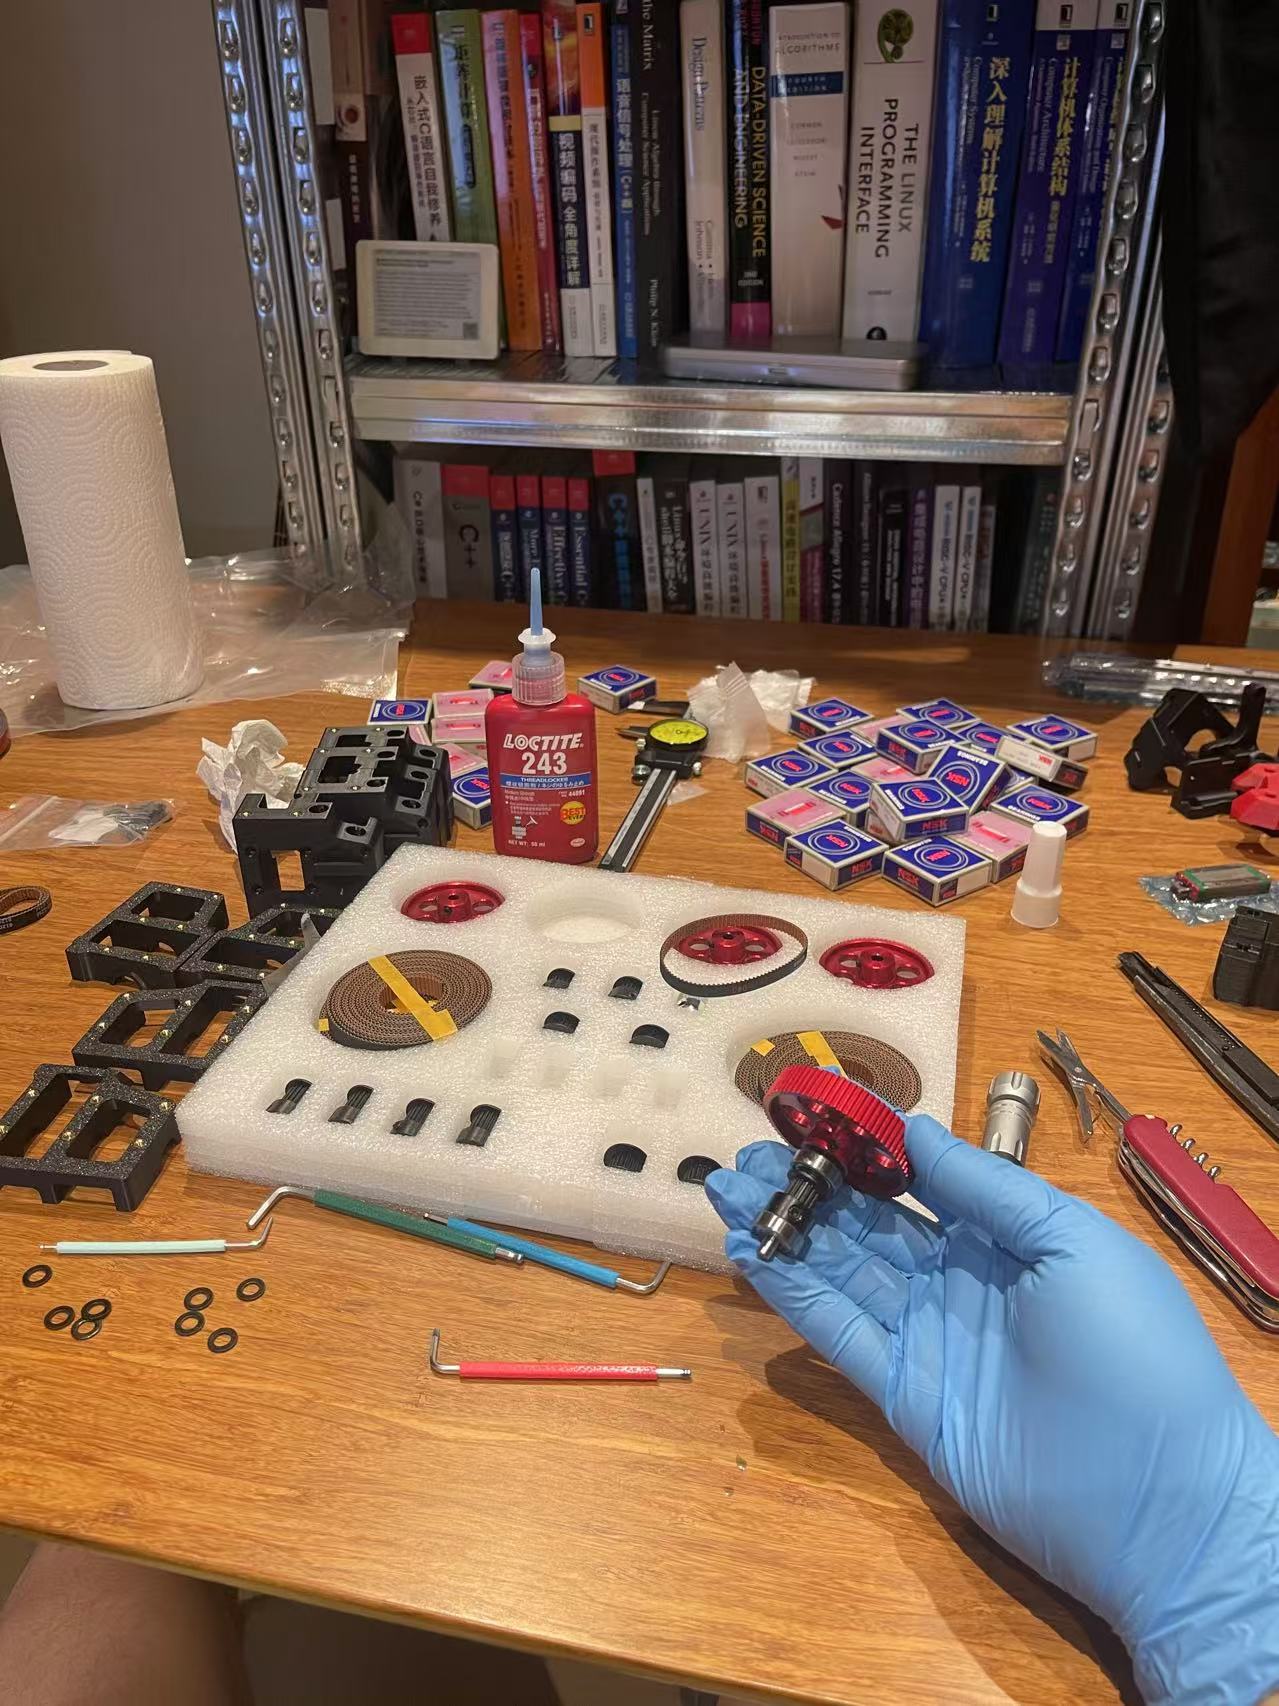
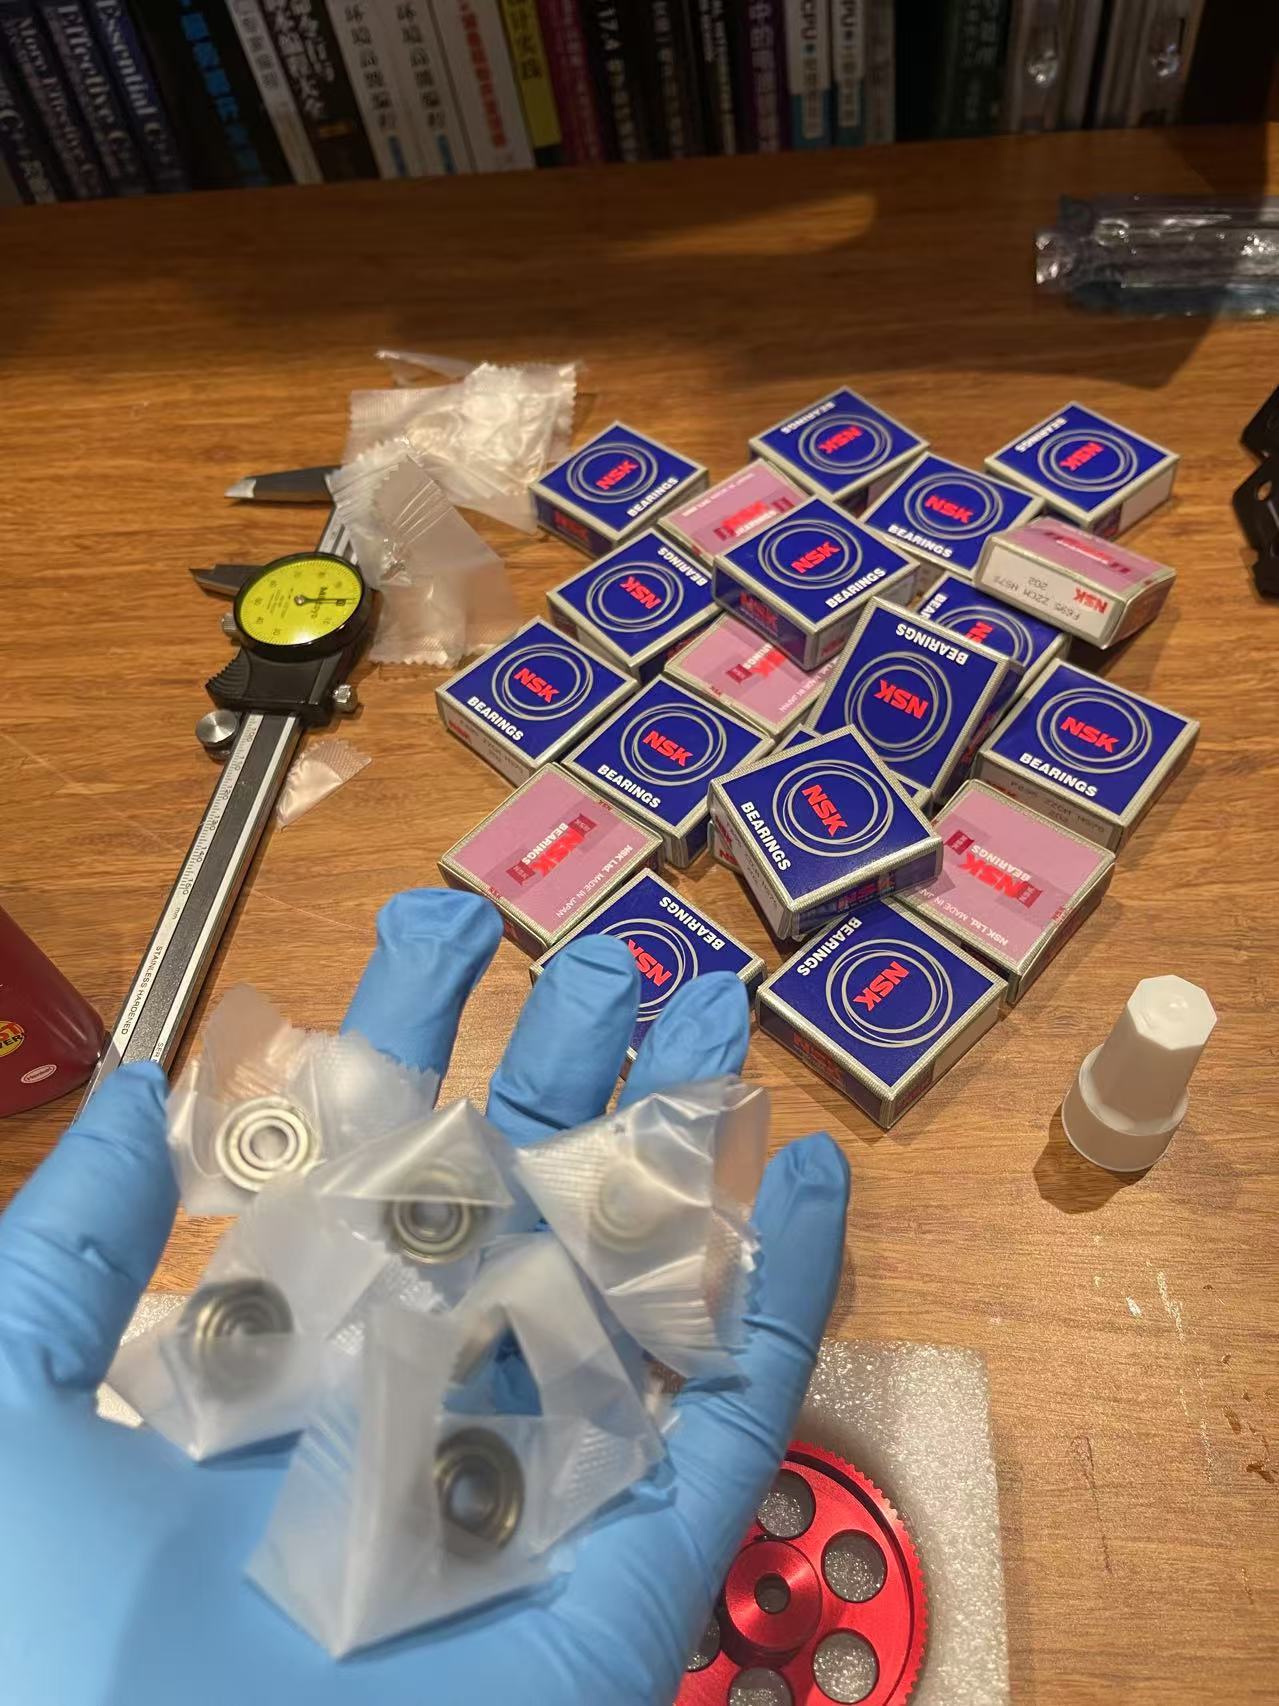
NSK Quality Bearings
Z Axis Assembly
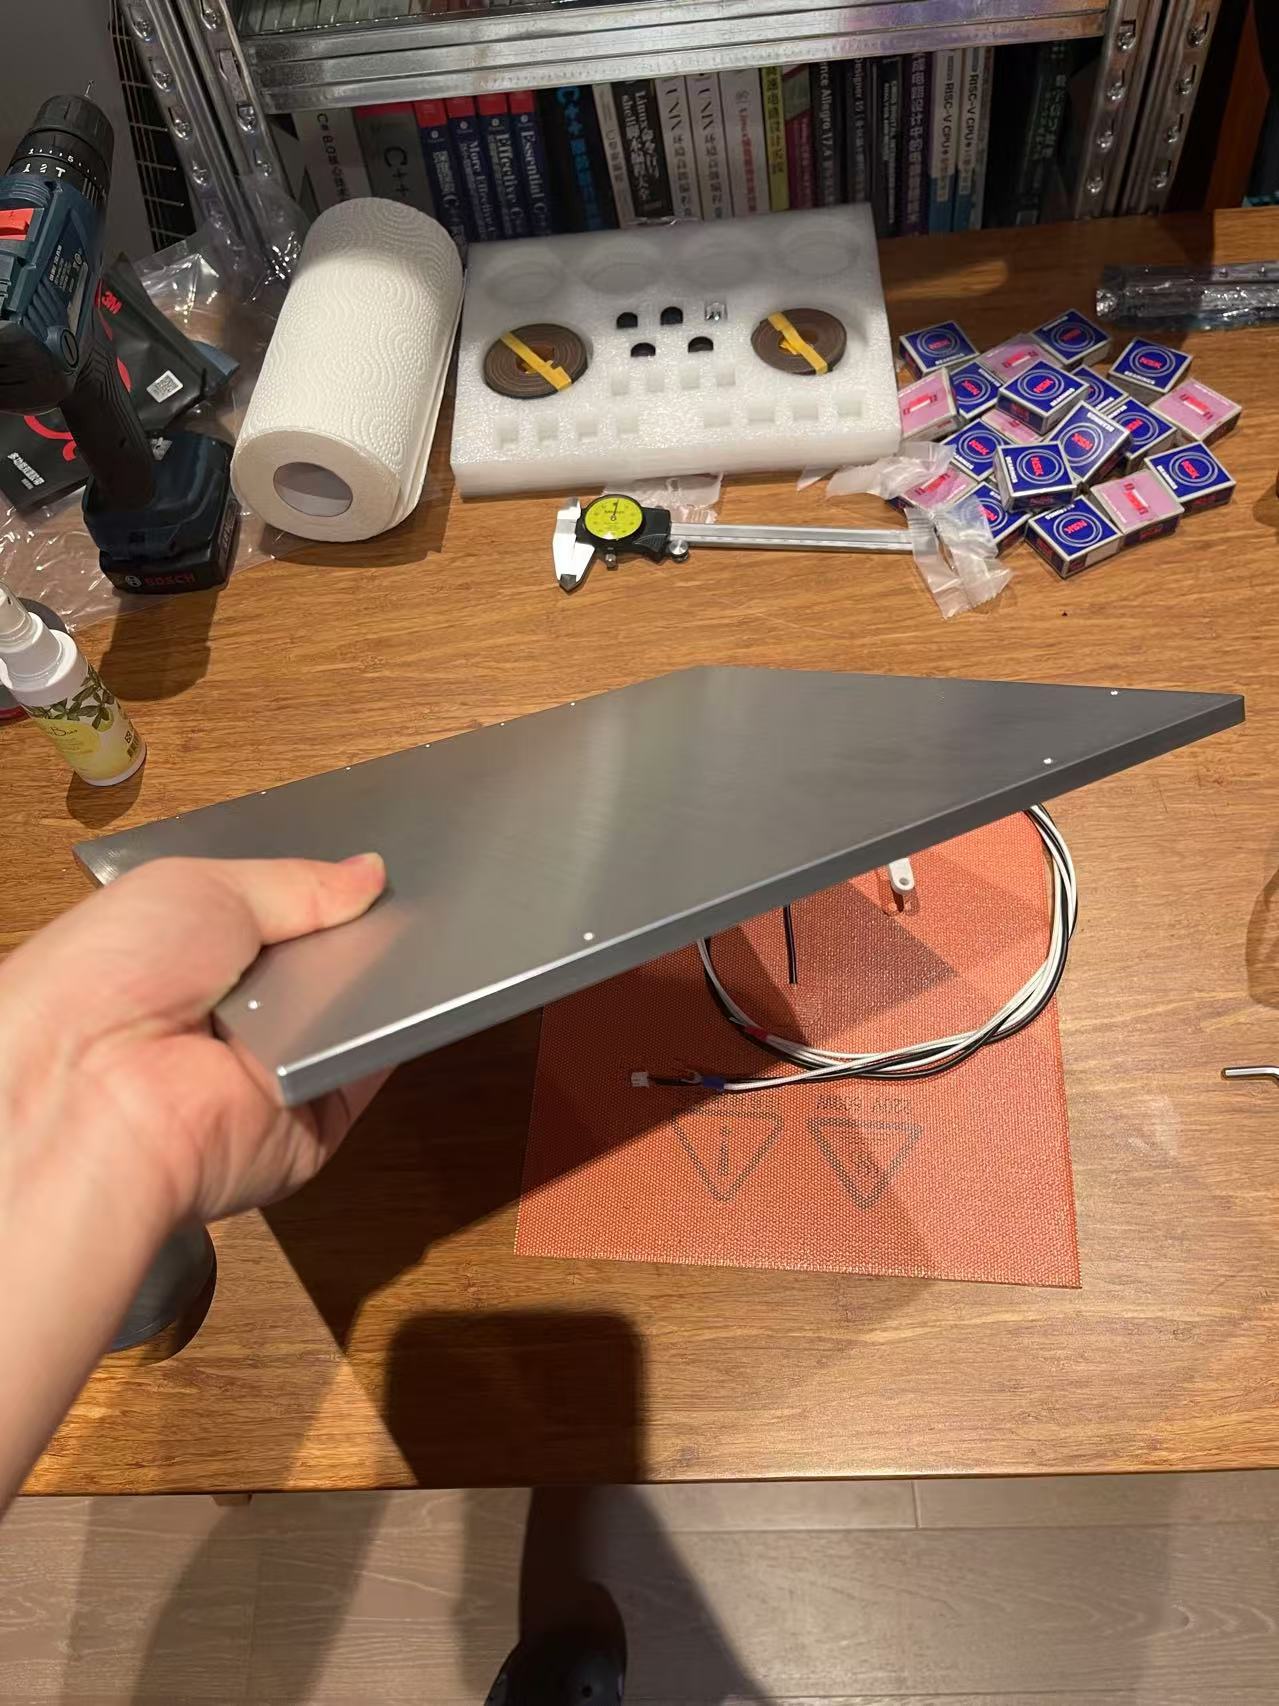
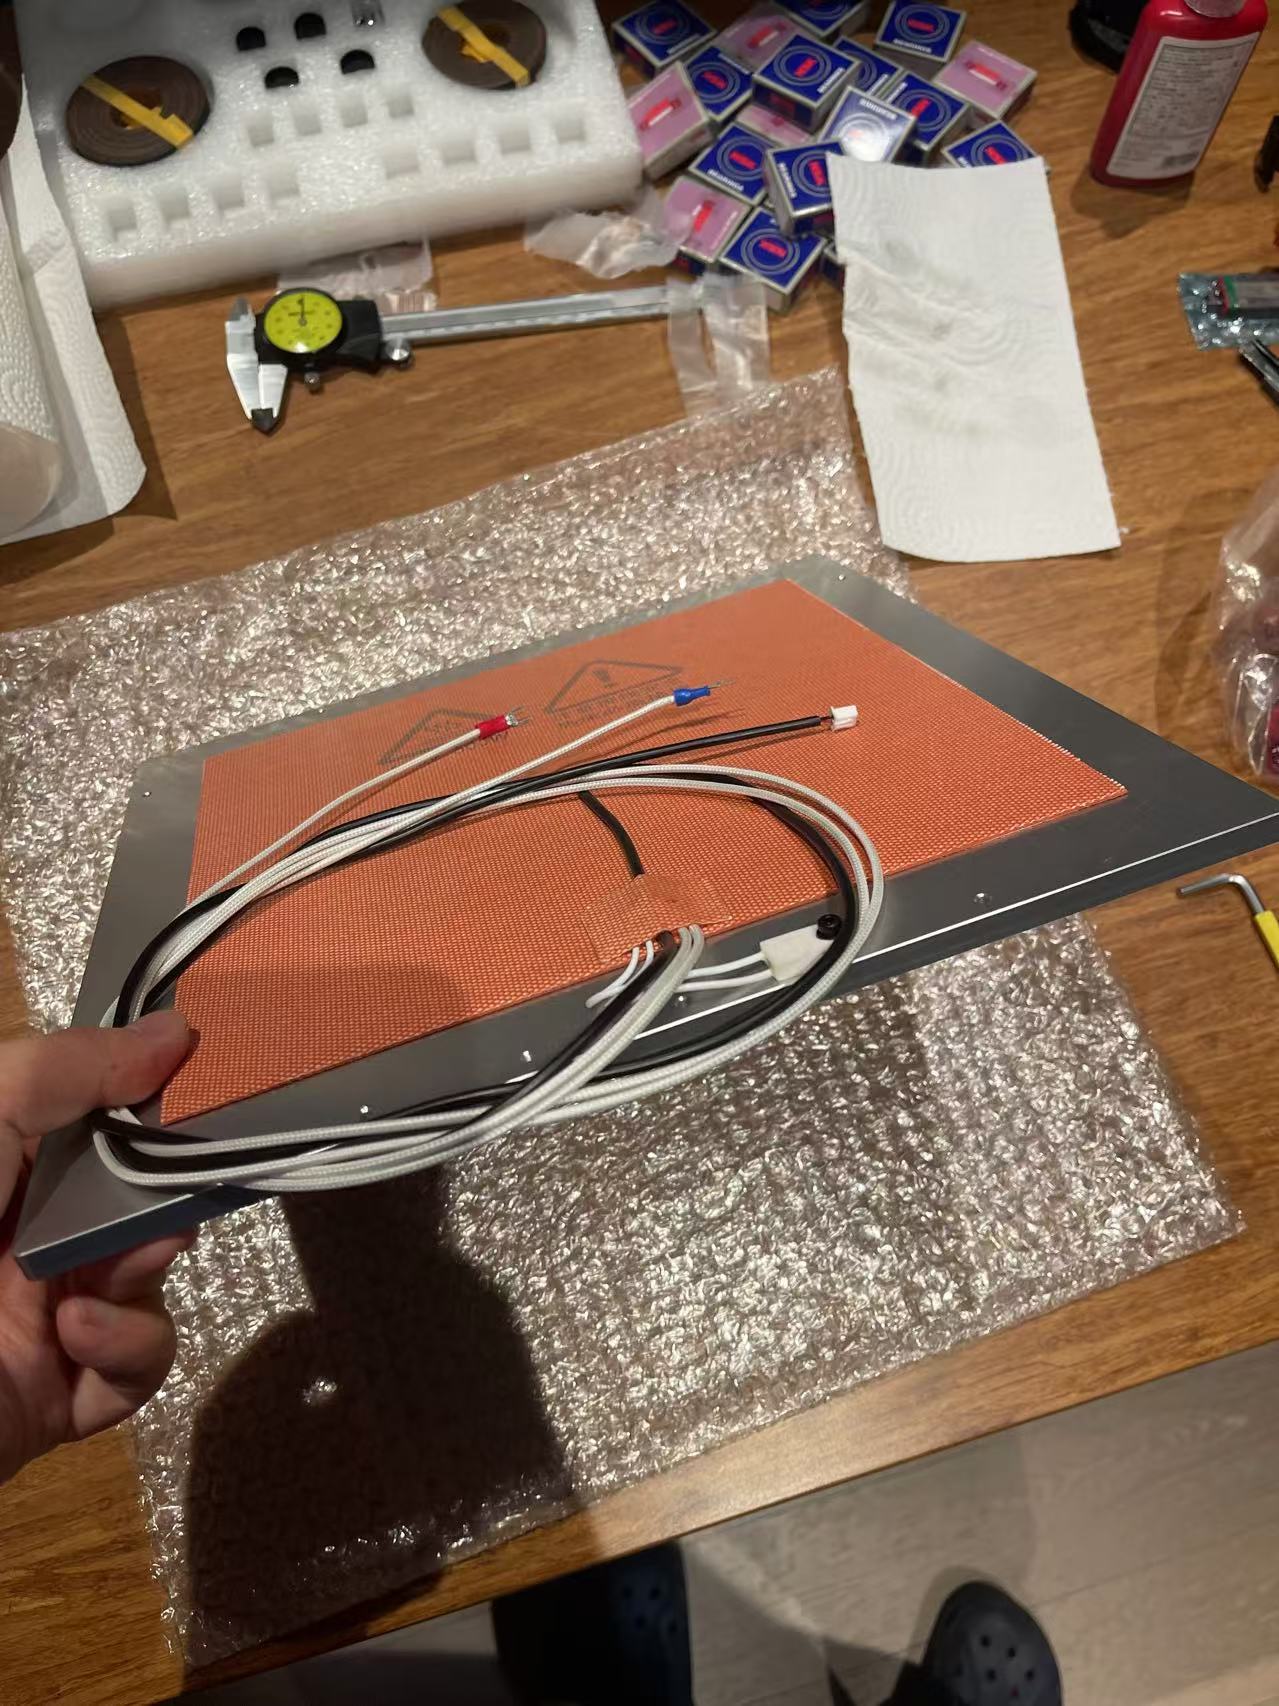
Flat and Thick Heat Bed
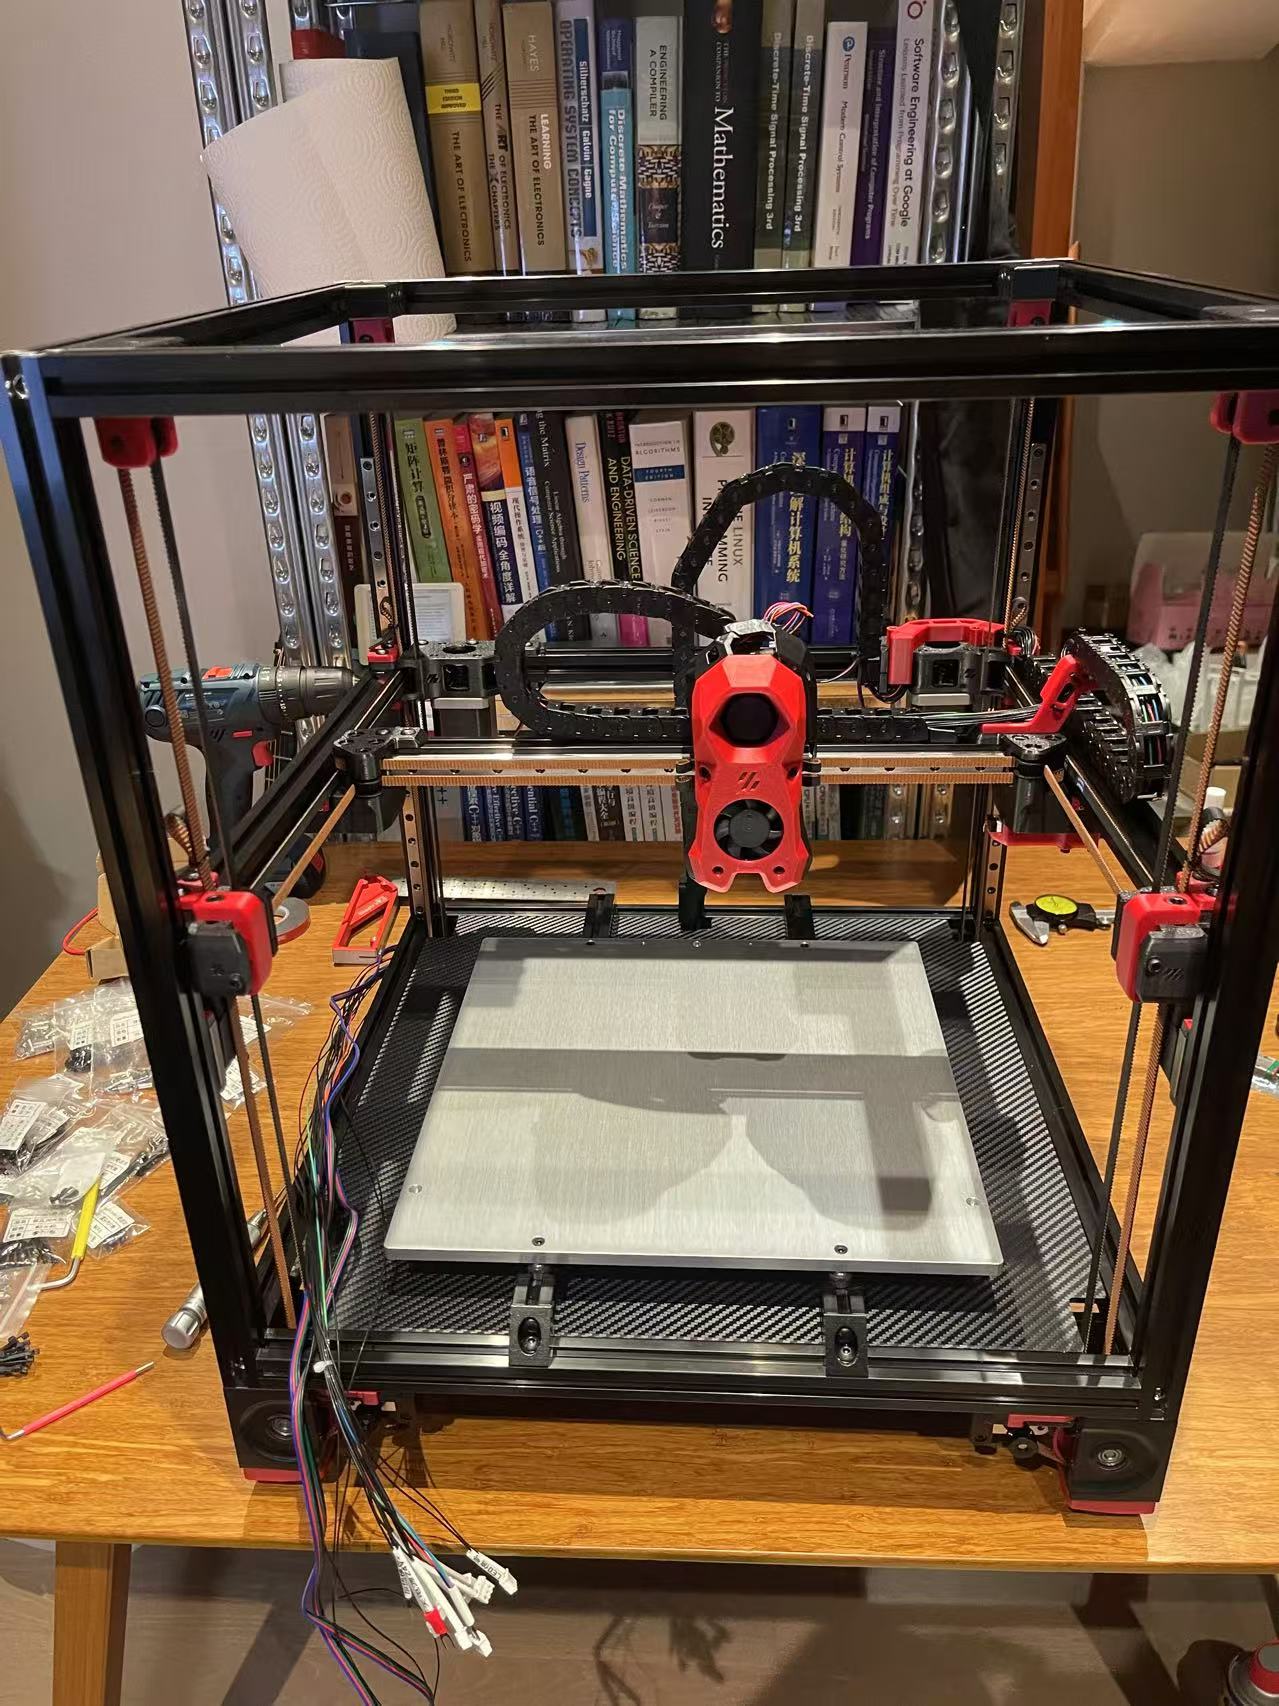
Core X-Y Gantry Assembly
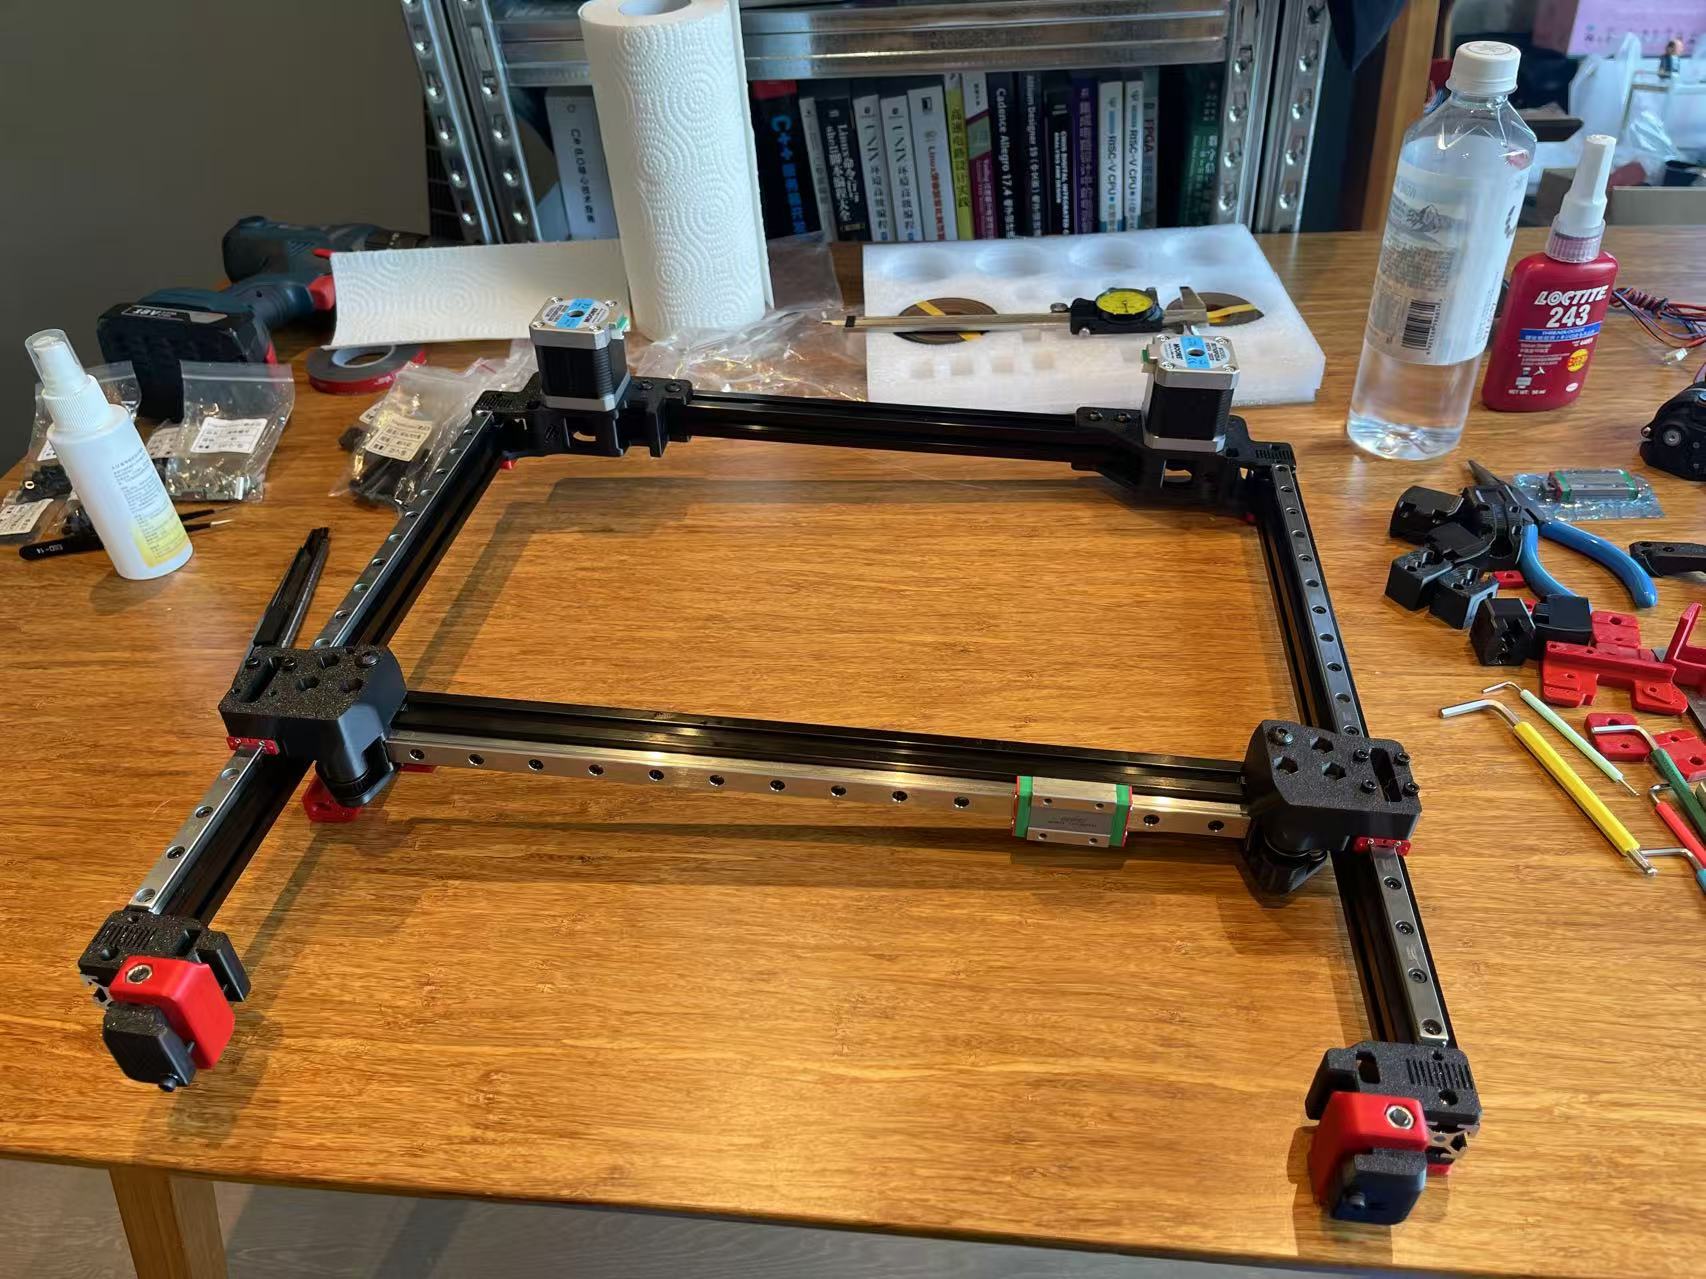
I think this part is a two-person job. But tape would work too…
Bambulab High-Performance Hotend
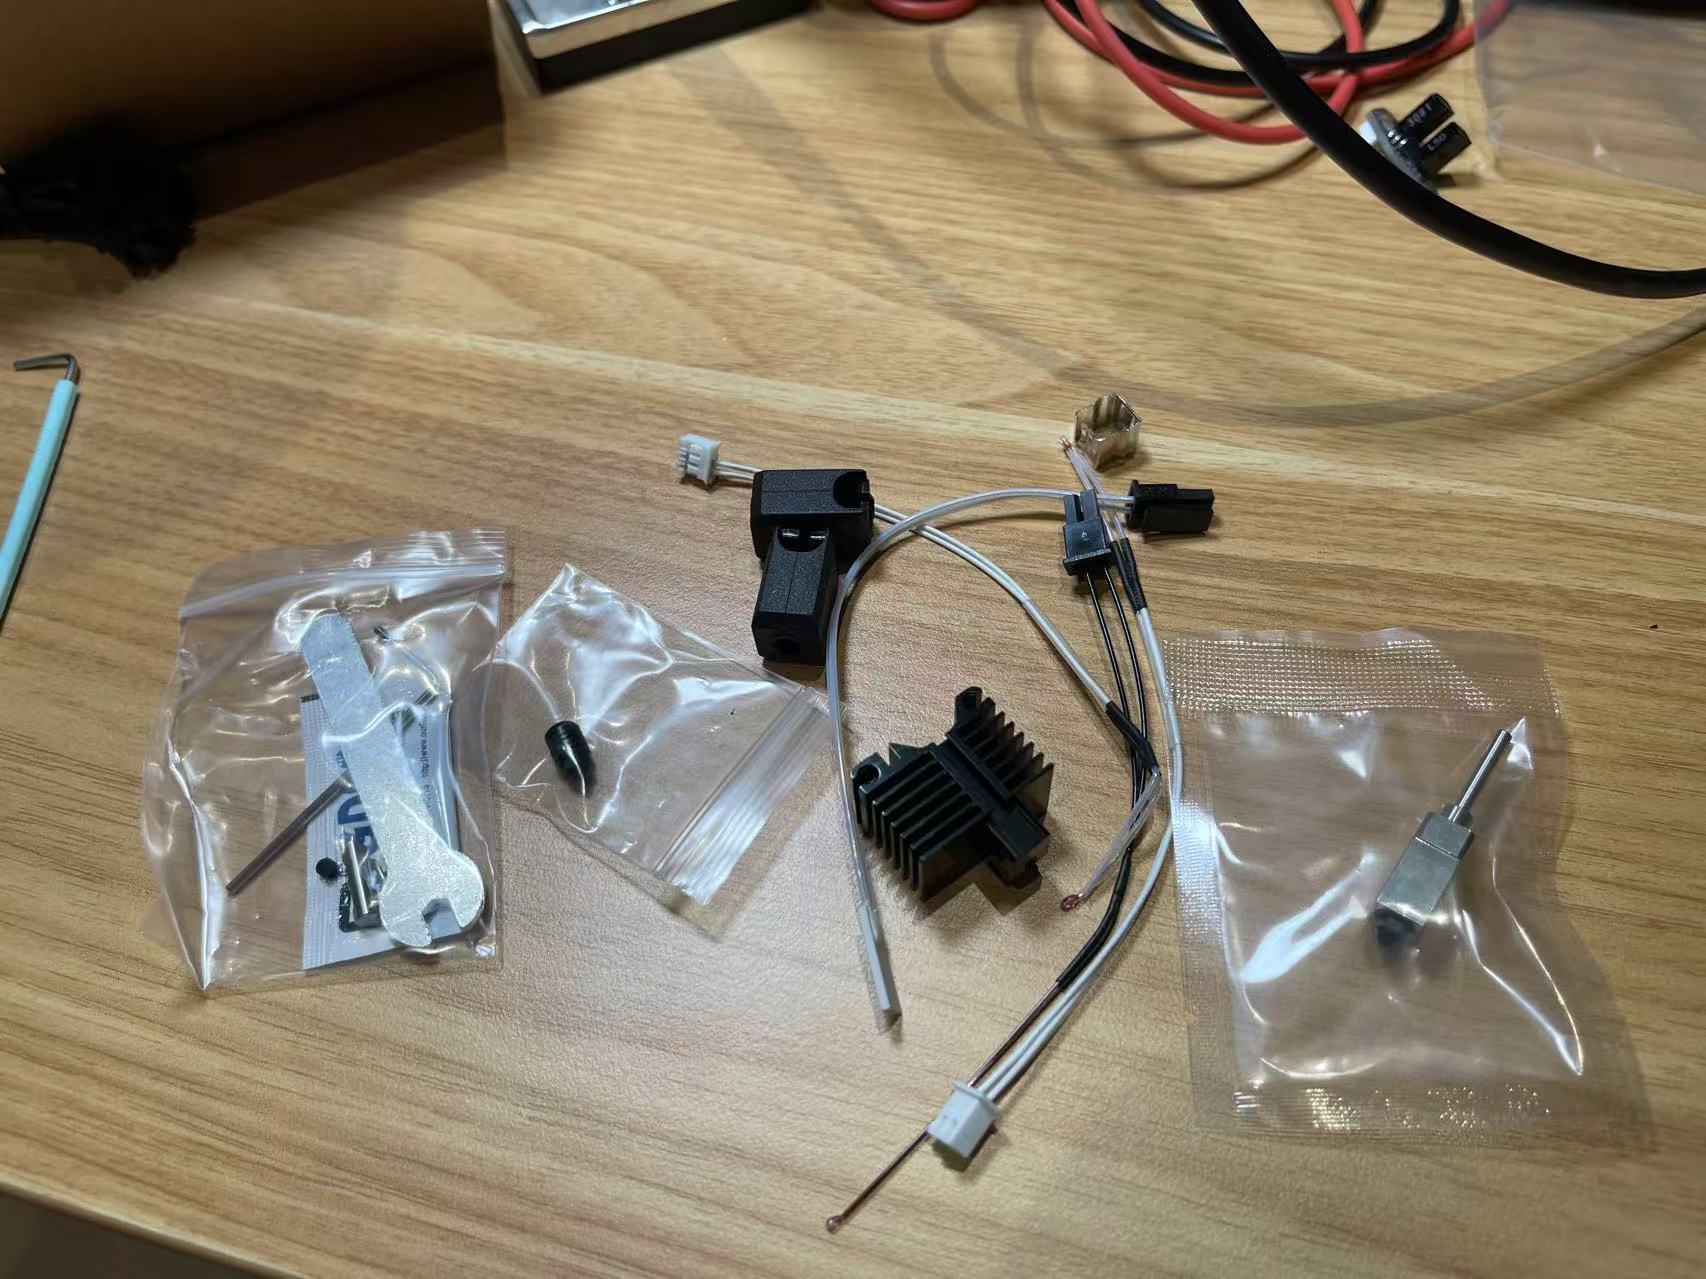
Voron SB Tool Head Assembly
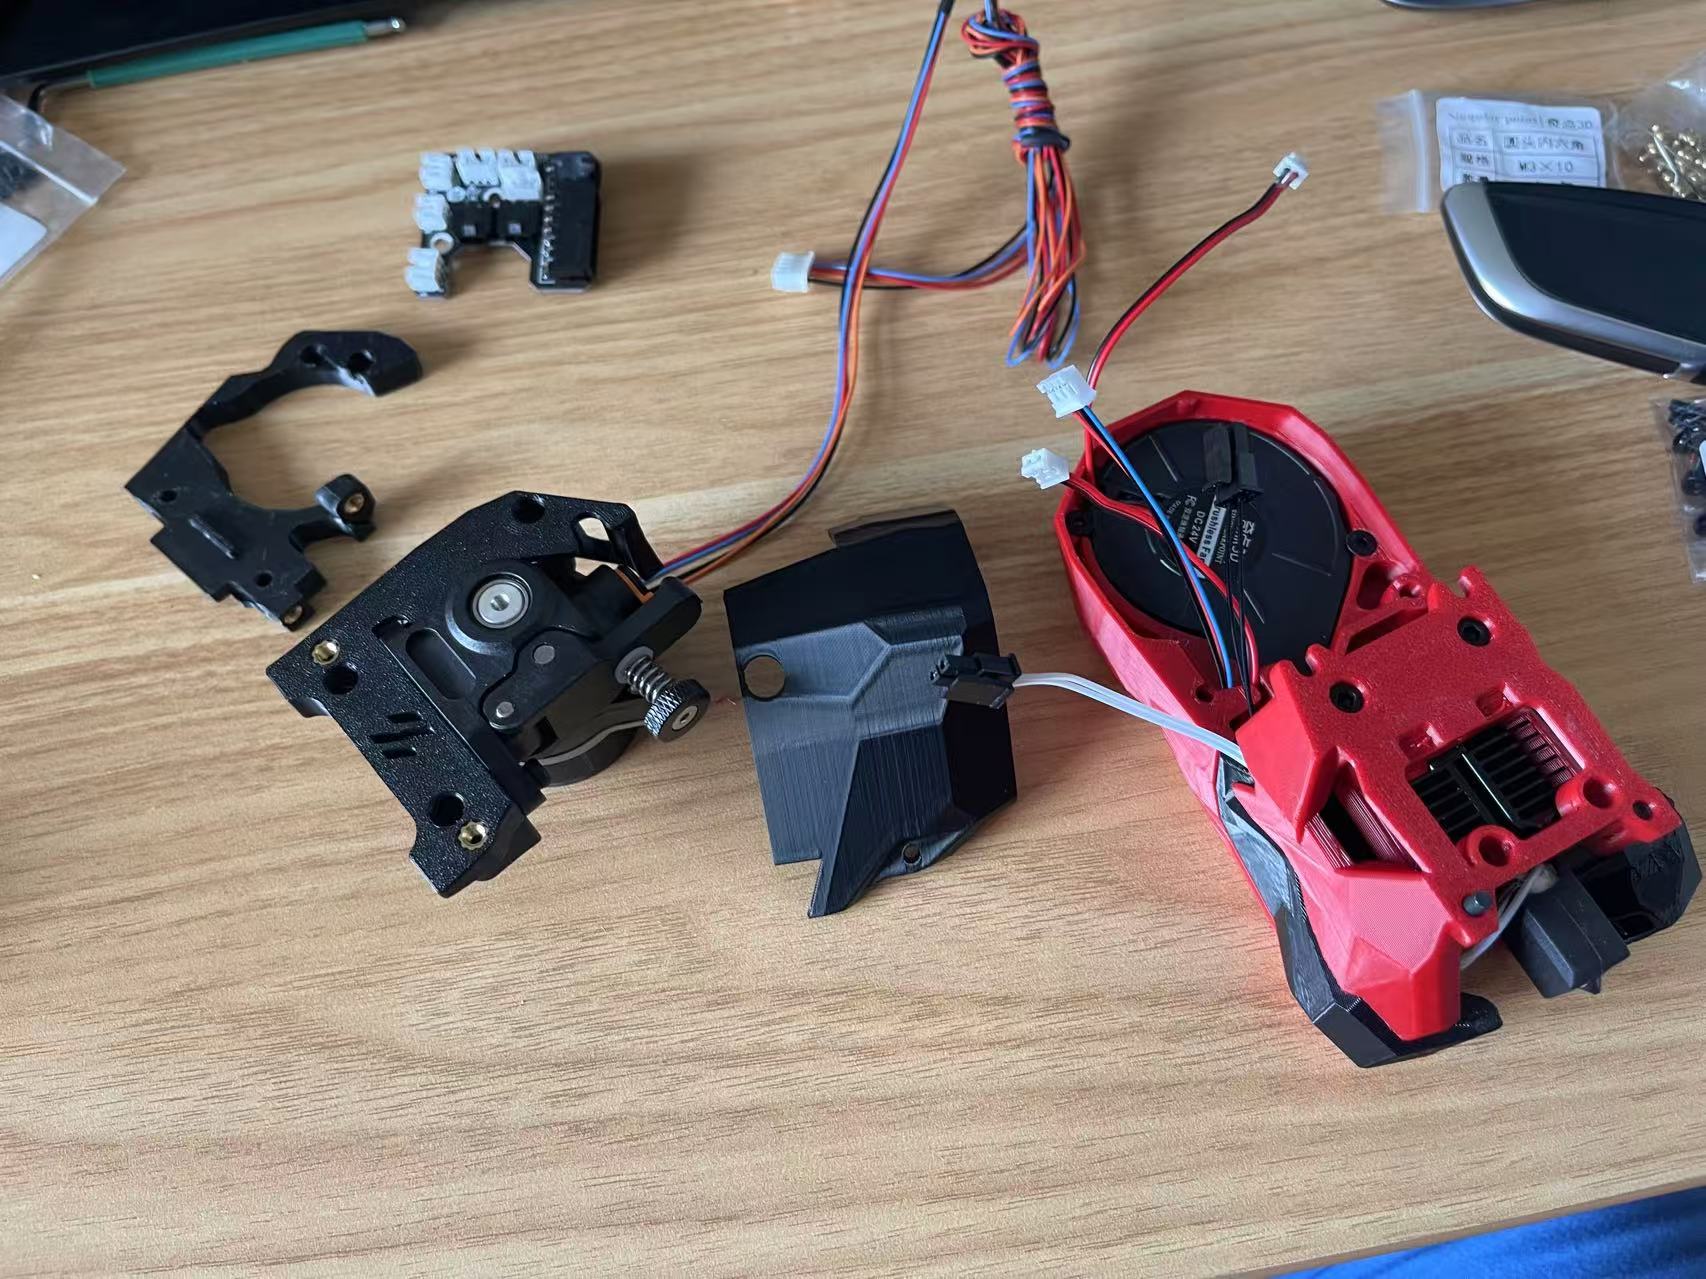
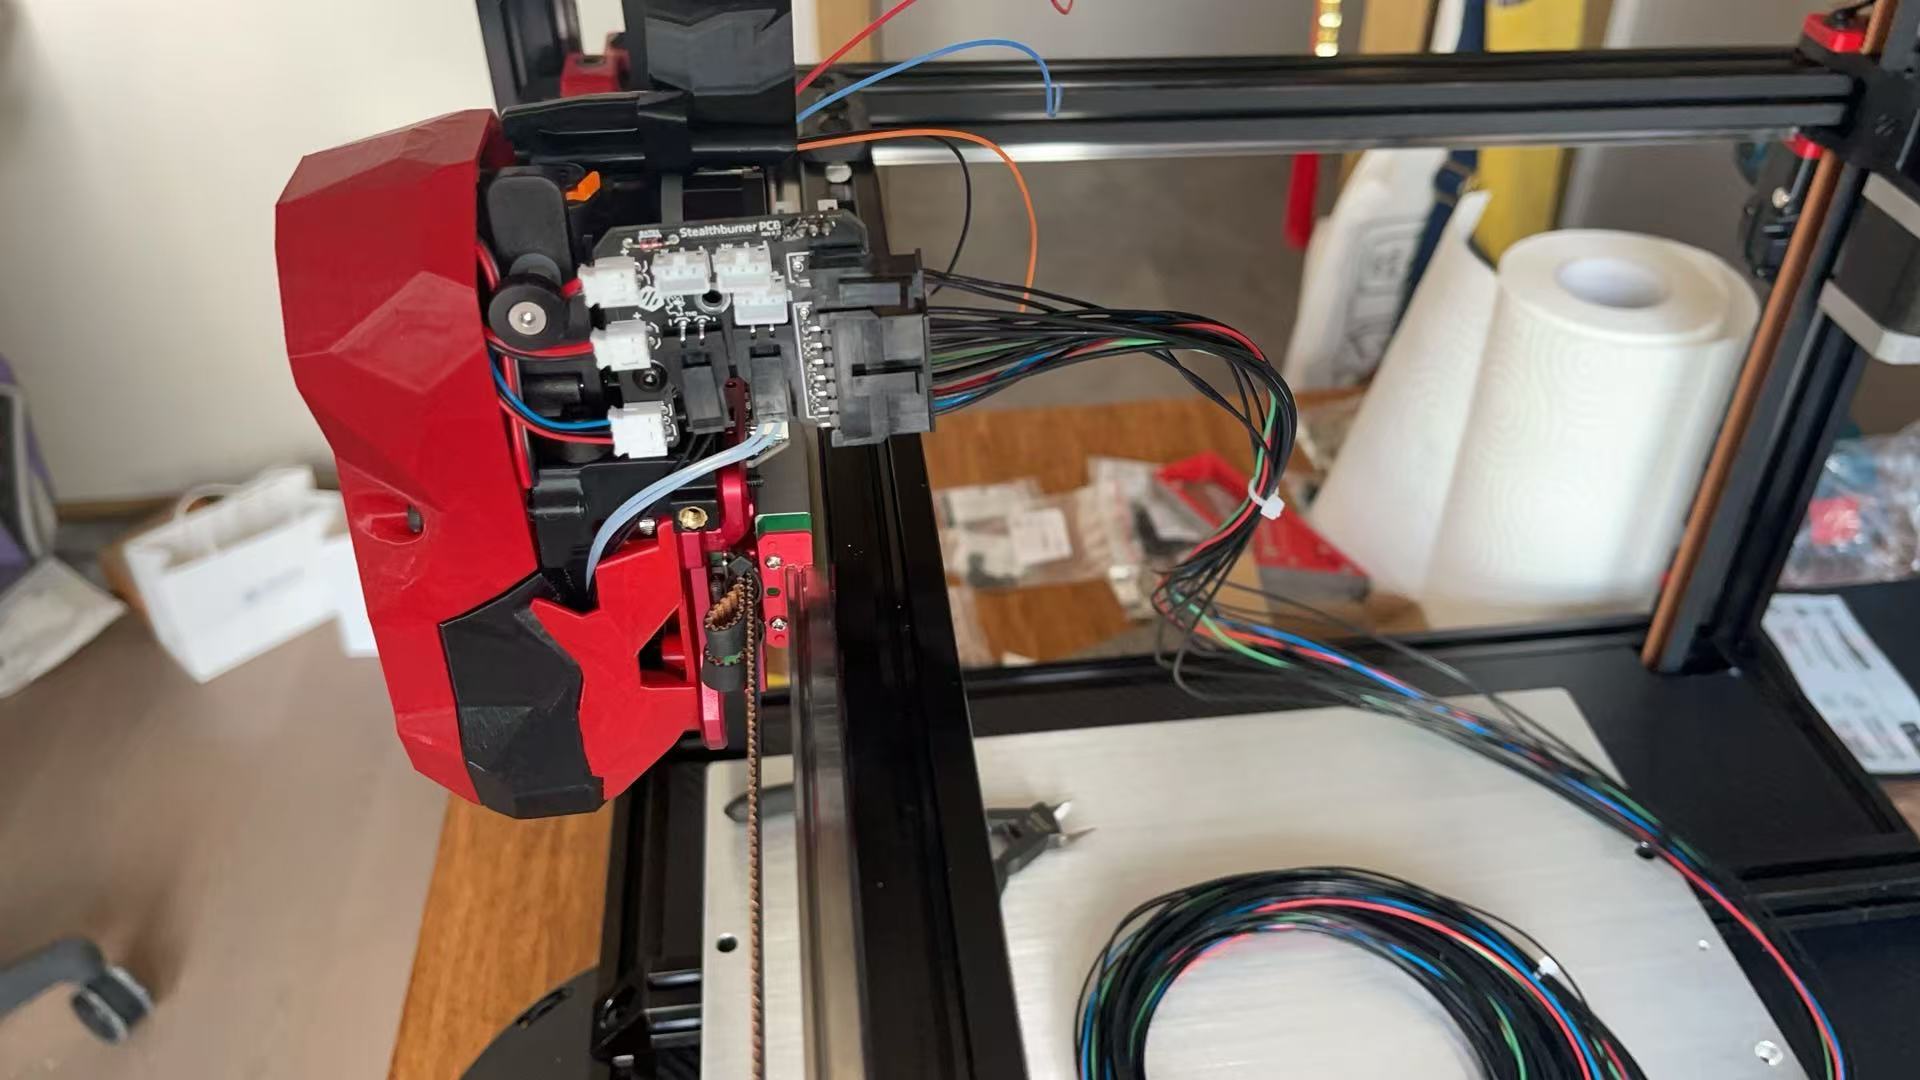
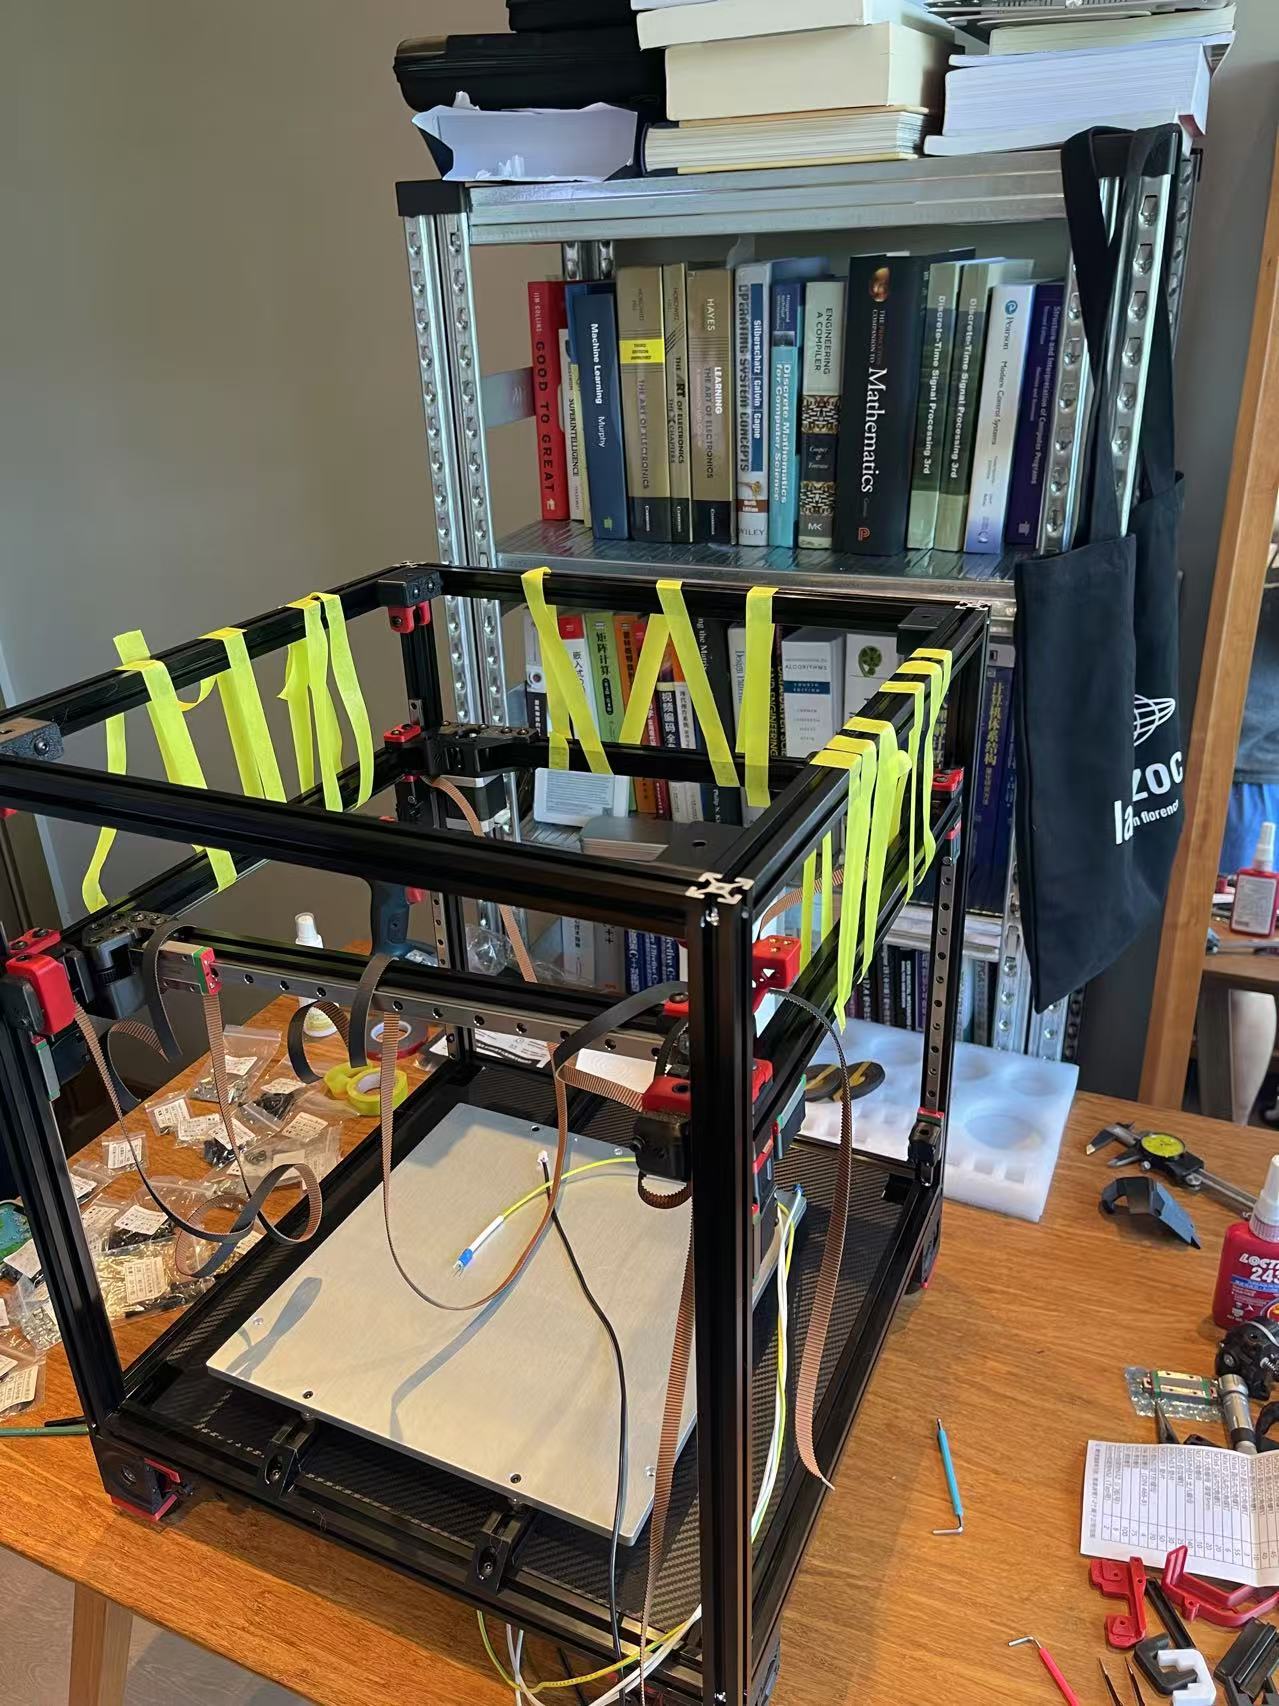
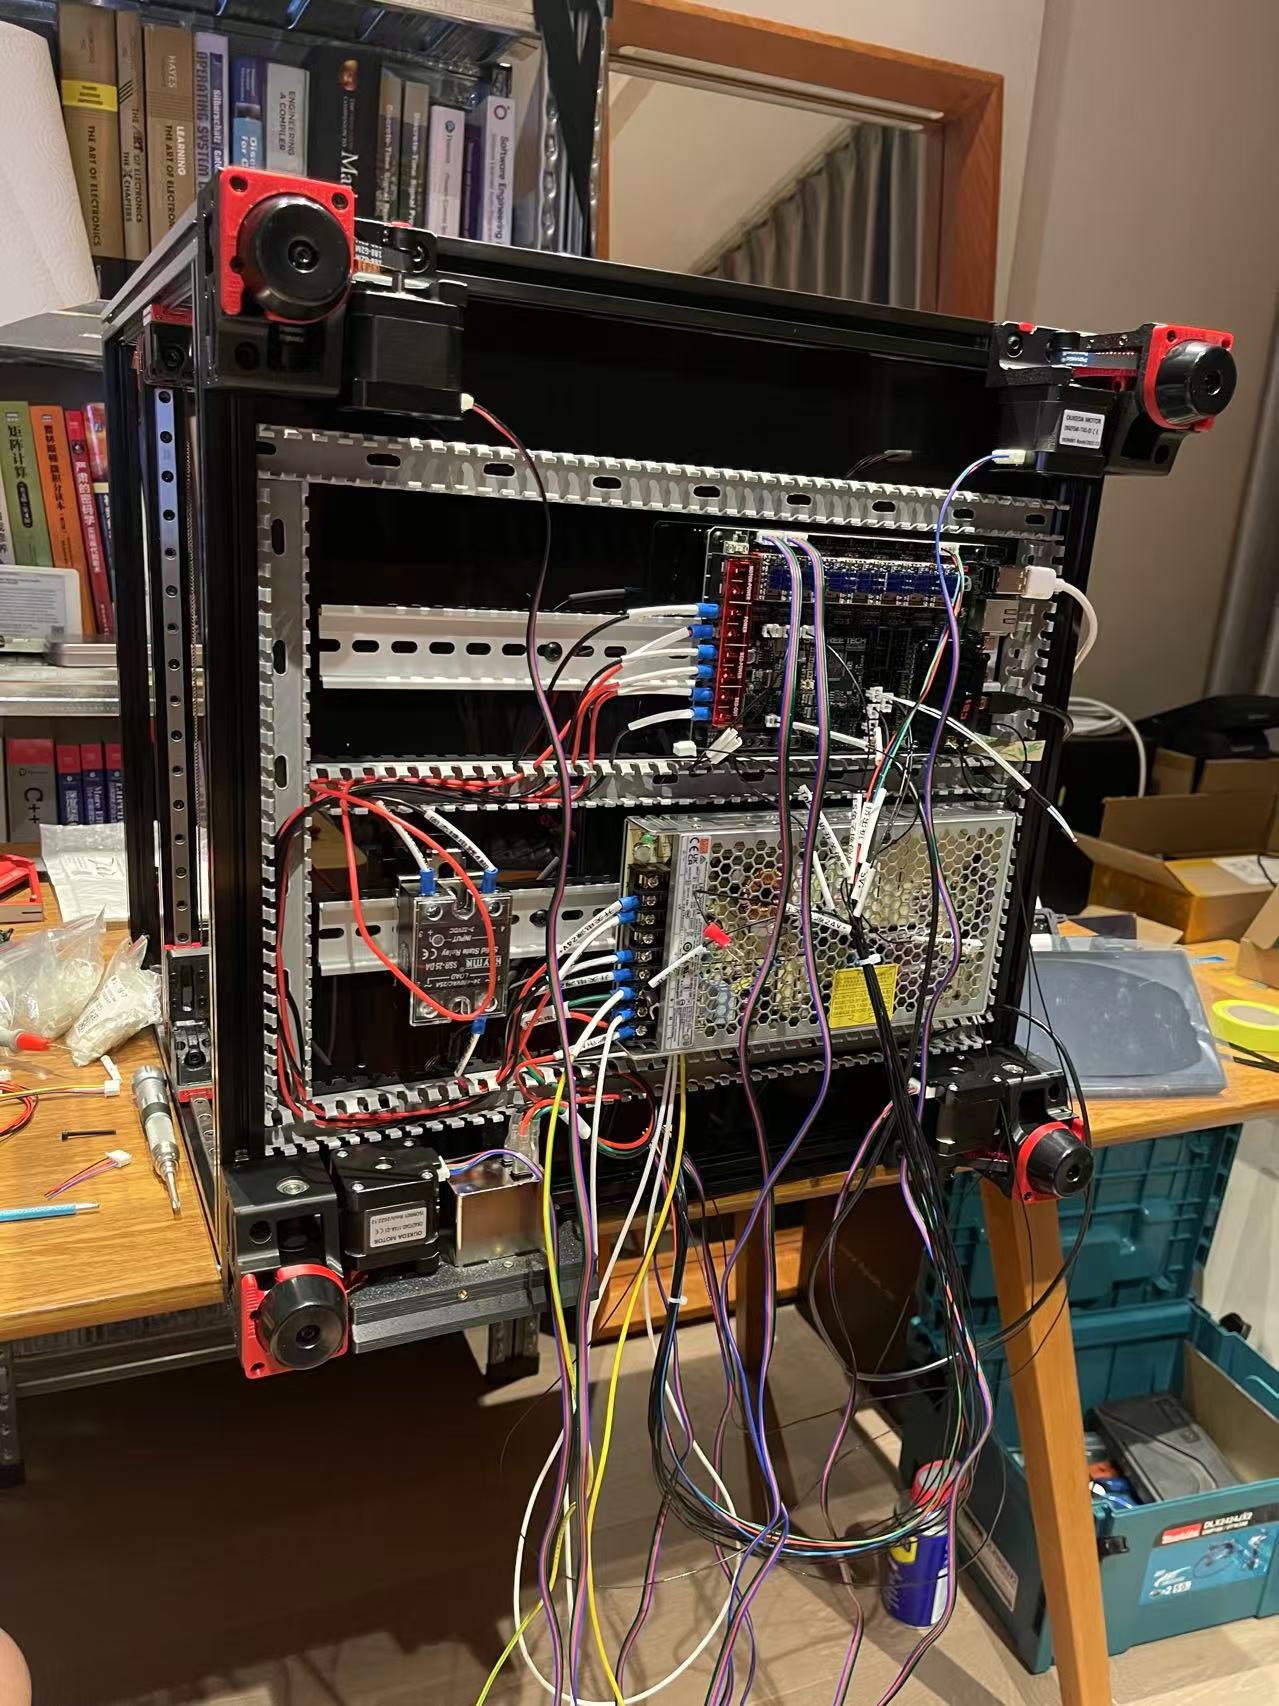
Cable Drag Chain, Cable Routing, and Core-XY Belt Assembly
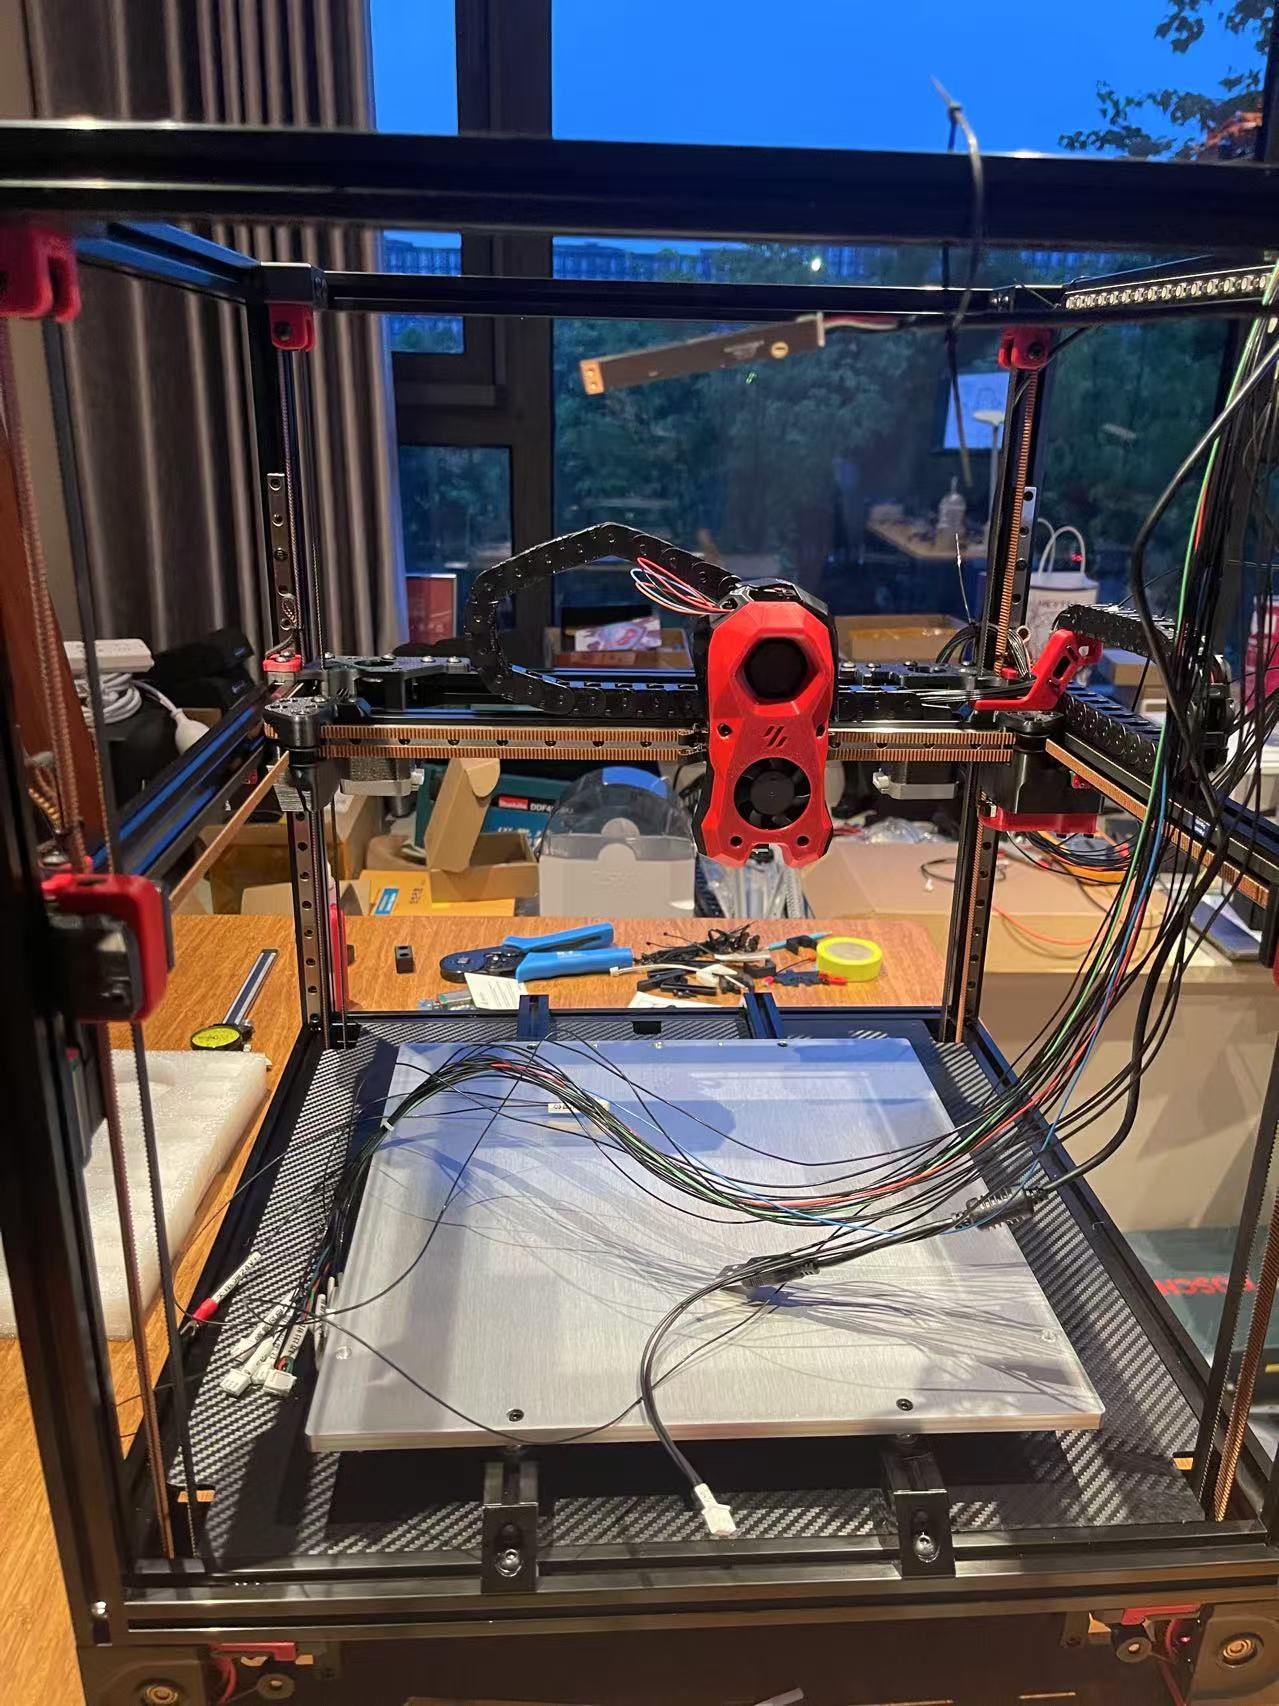
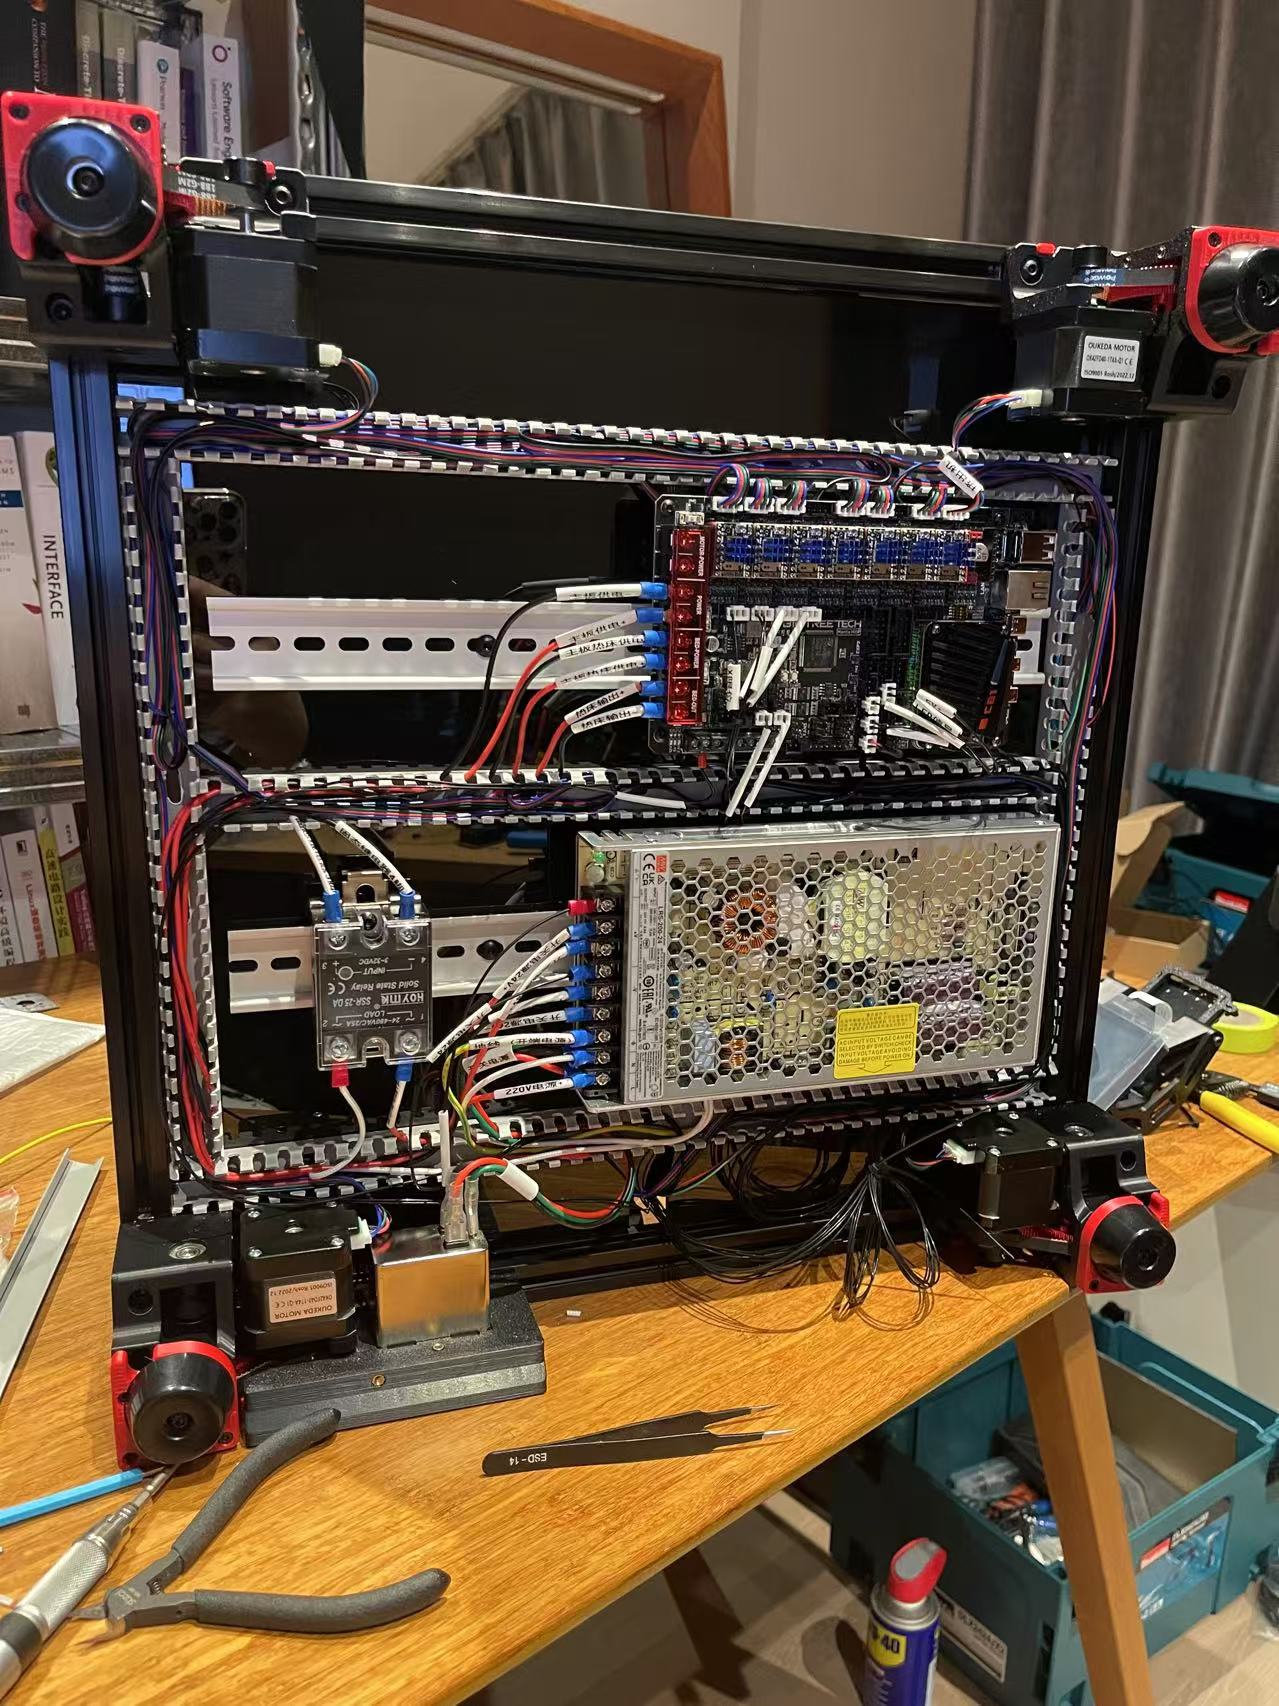
5 Hours of Final Debugging and Cleaning Up Cables. Nice and tidy!
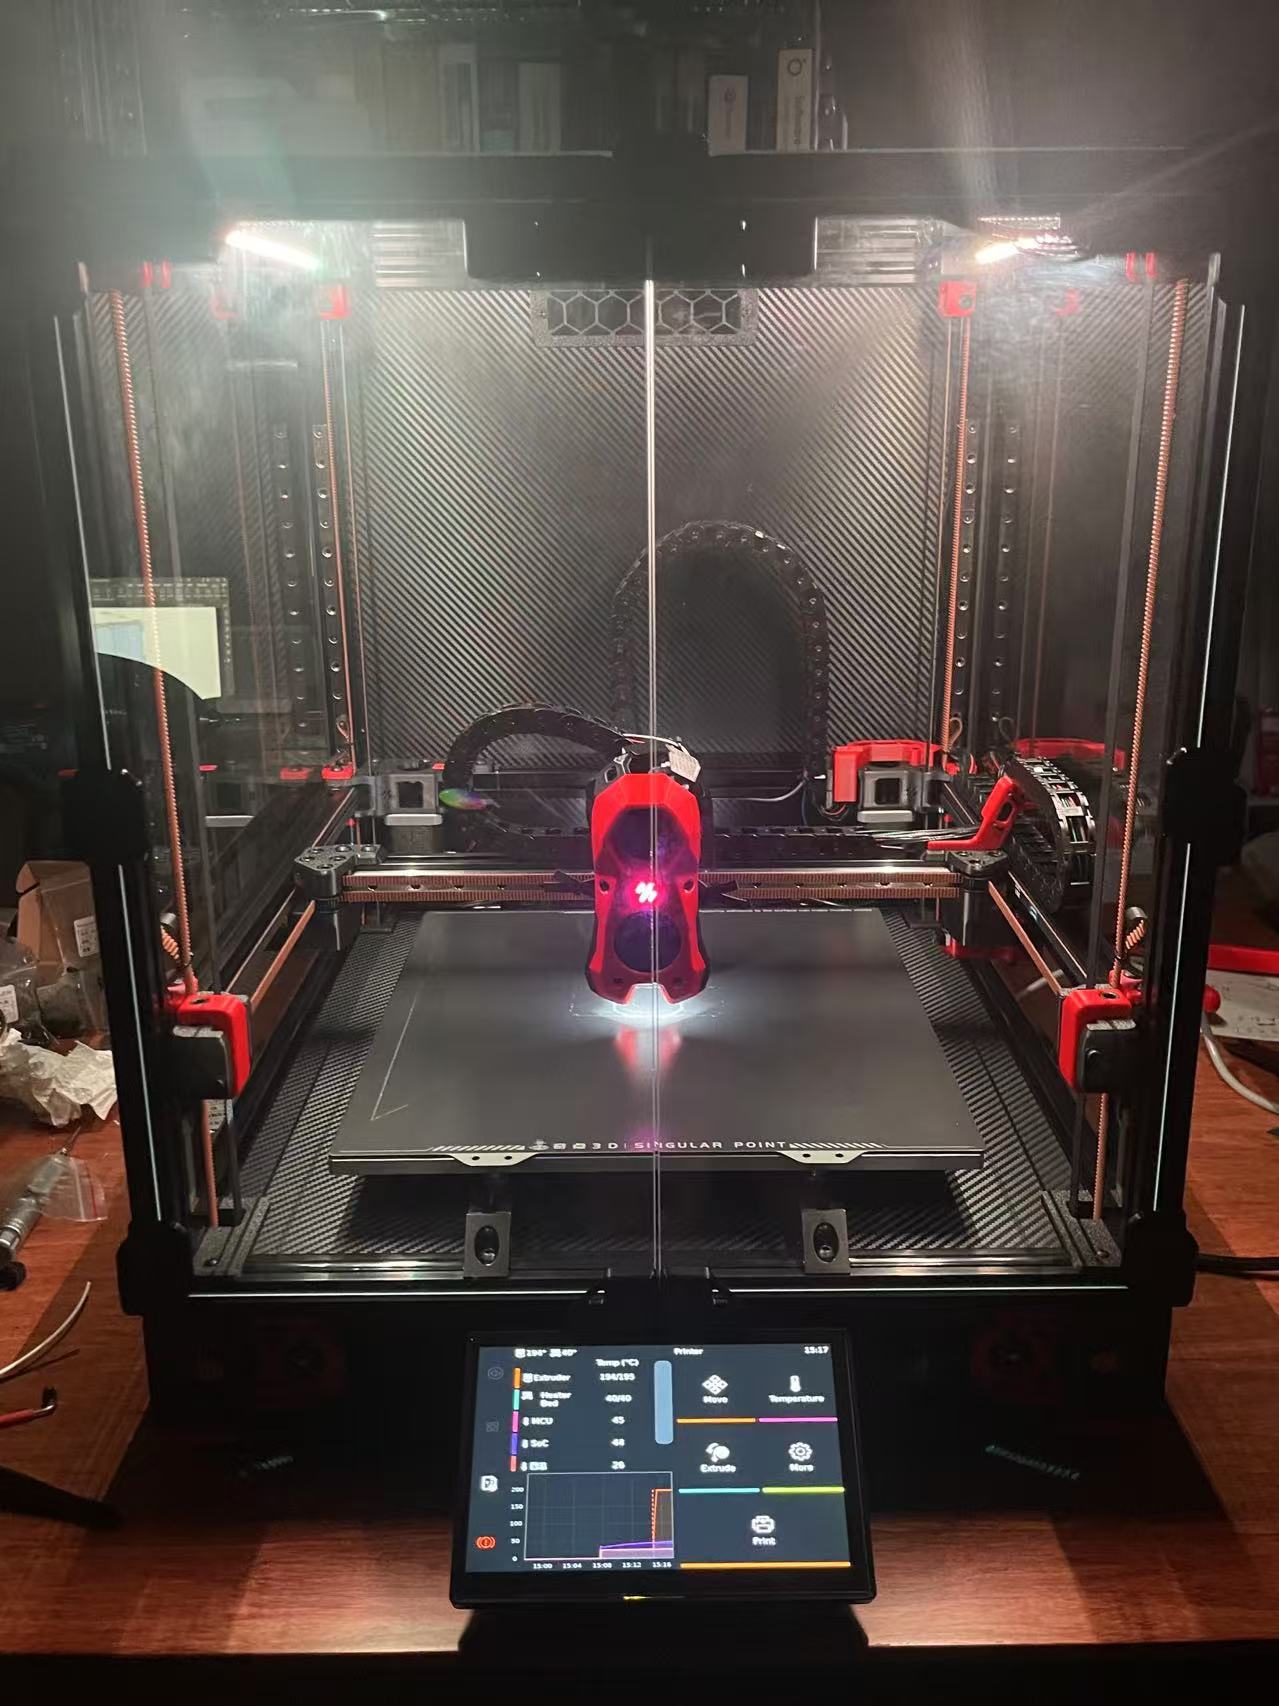
Finished Build 🎉
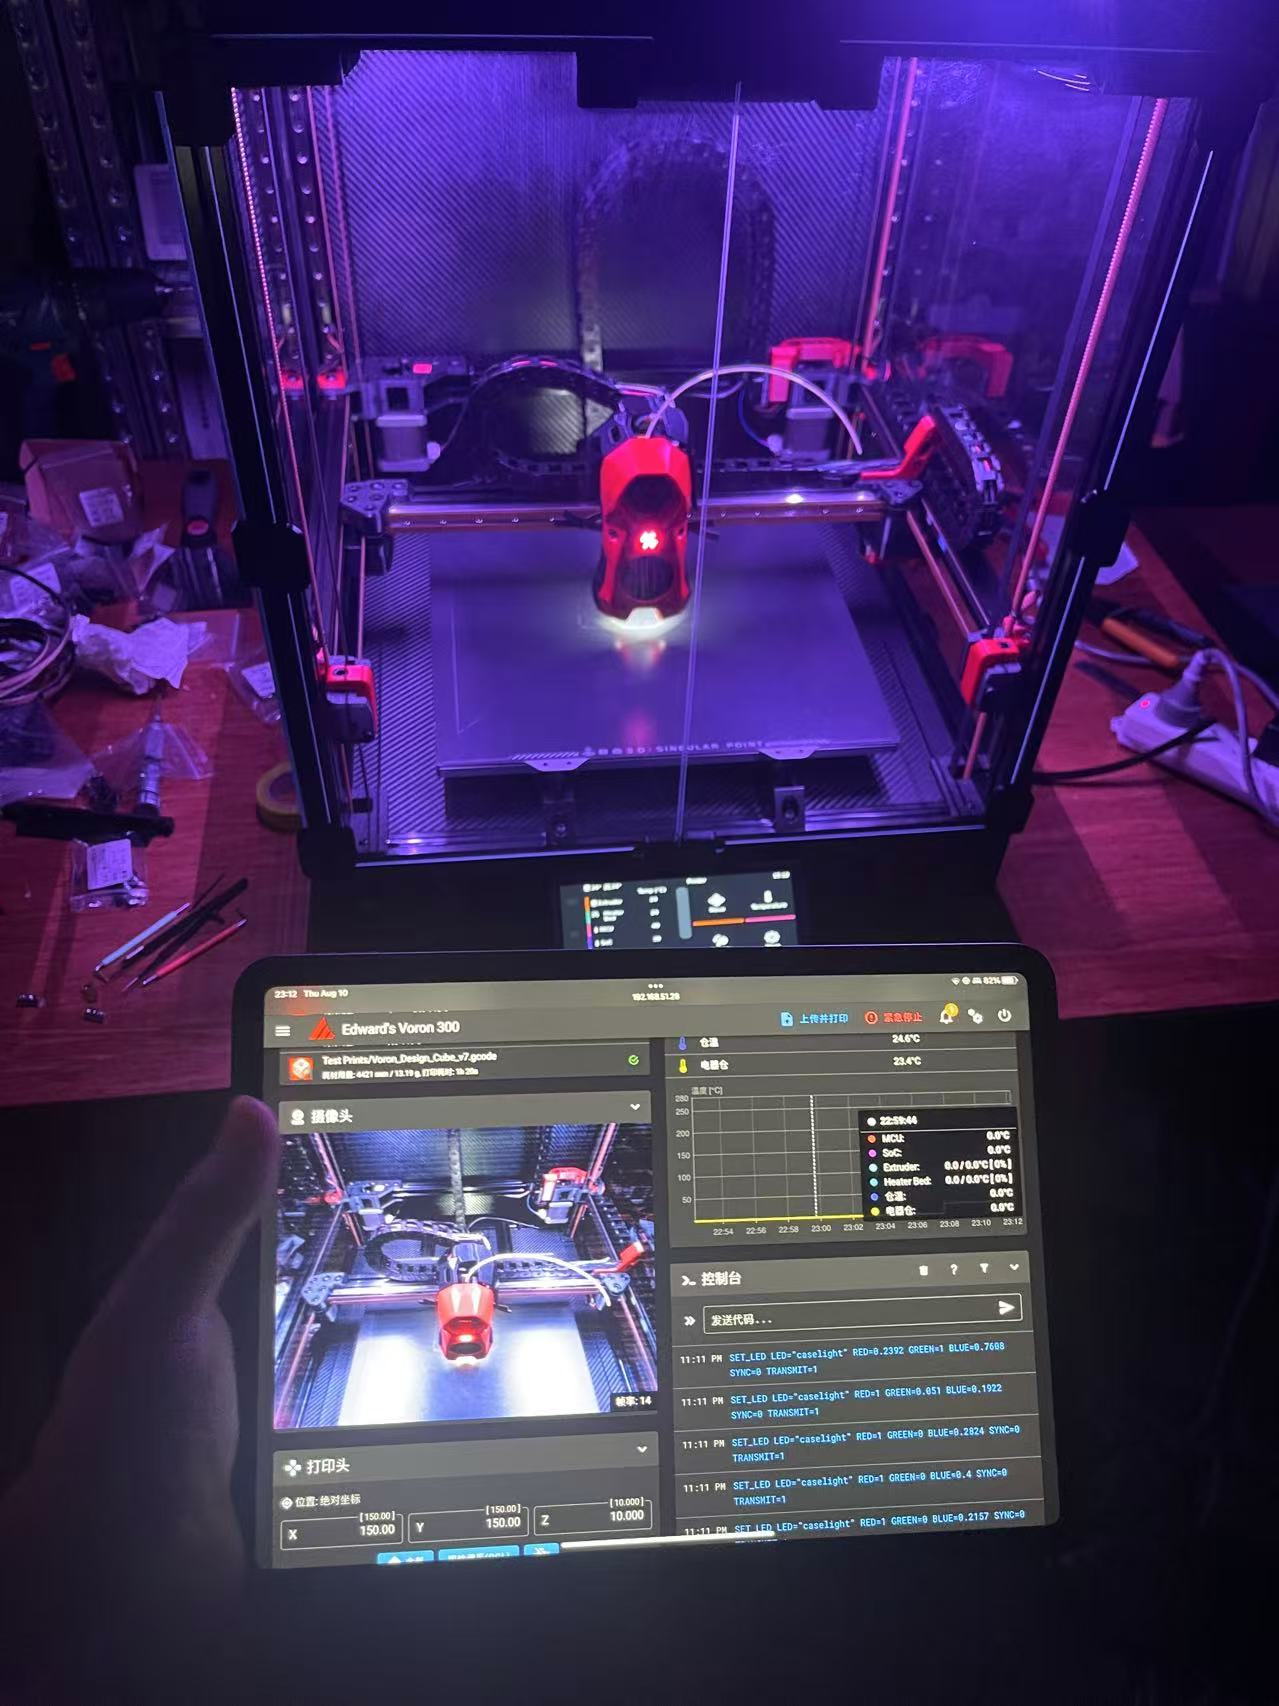
Local Network Monitoring and Control Panel
Document Information
- Author: Hsuan Han Lai (Edward Lai)
- Link: https://adwuard.github.io/projects/VoronBuild/
- Copyright: Free to share - Non-commercial - No derivatives - Attribution required (Creative Commons 3.0 License)