
Overview
This document will guide you through the process of flashing the keyboard firmware for the TrackerKB.
There are two main hosts for the M8 Headless:
- M8WebDisplay: Runs in a browser without any app installation
- M8C: Cross-platform M8 tracker headless client that runs as an application
The default keyboard firmware that comes with the TrackerKB is for the M8 Web Display. If you want to use M8C as your main host, this guide will show you how to flash new firmware onto the onboard Raspberry Pi Pico.
Key Mapping Differences Between Two Hosts
| Key Function | M8C Mapping | M8 Web Display Mapping |
|---|---|---|
| Up Arrow | Key Up | Key UP |
| Down Arrow | Key Down | Key Down |
| Left Arrow | Key Left | Key Left |
| Right Arrow | Key Right | Key Right |
| Option | a | z |
| Edit | s | x |
| Shift | Left Shift | Left Shift |
| Play | Space-bar | Space-bar |
Let’s Get Started 🚀
Tools Needed
- 1 PC
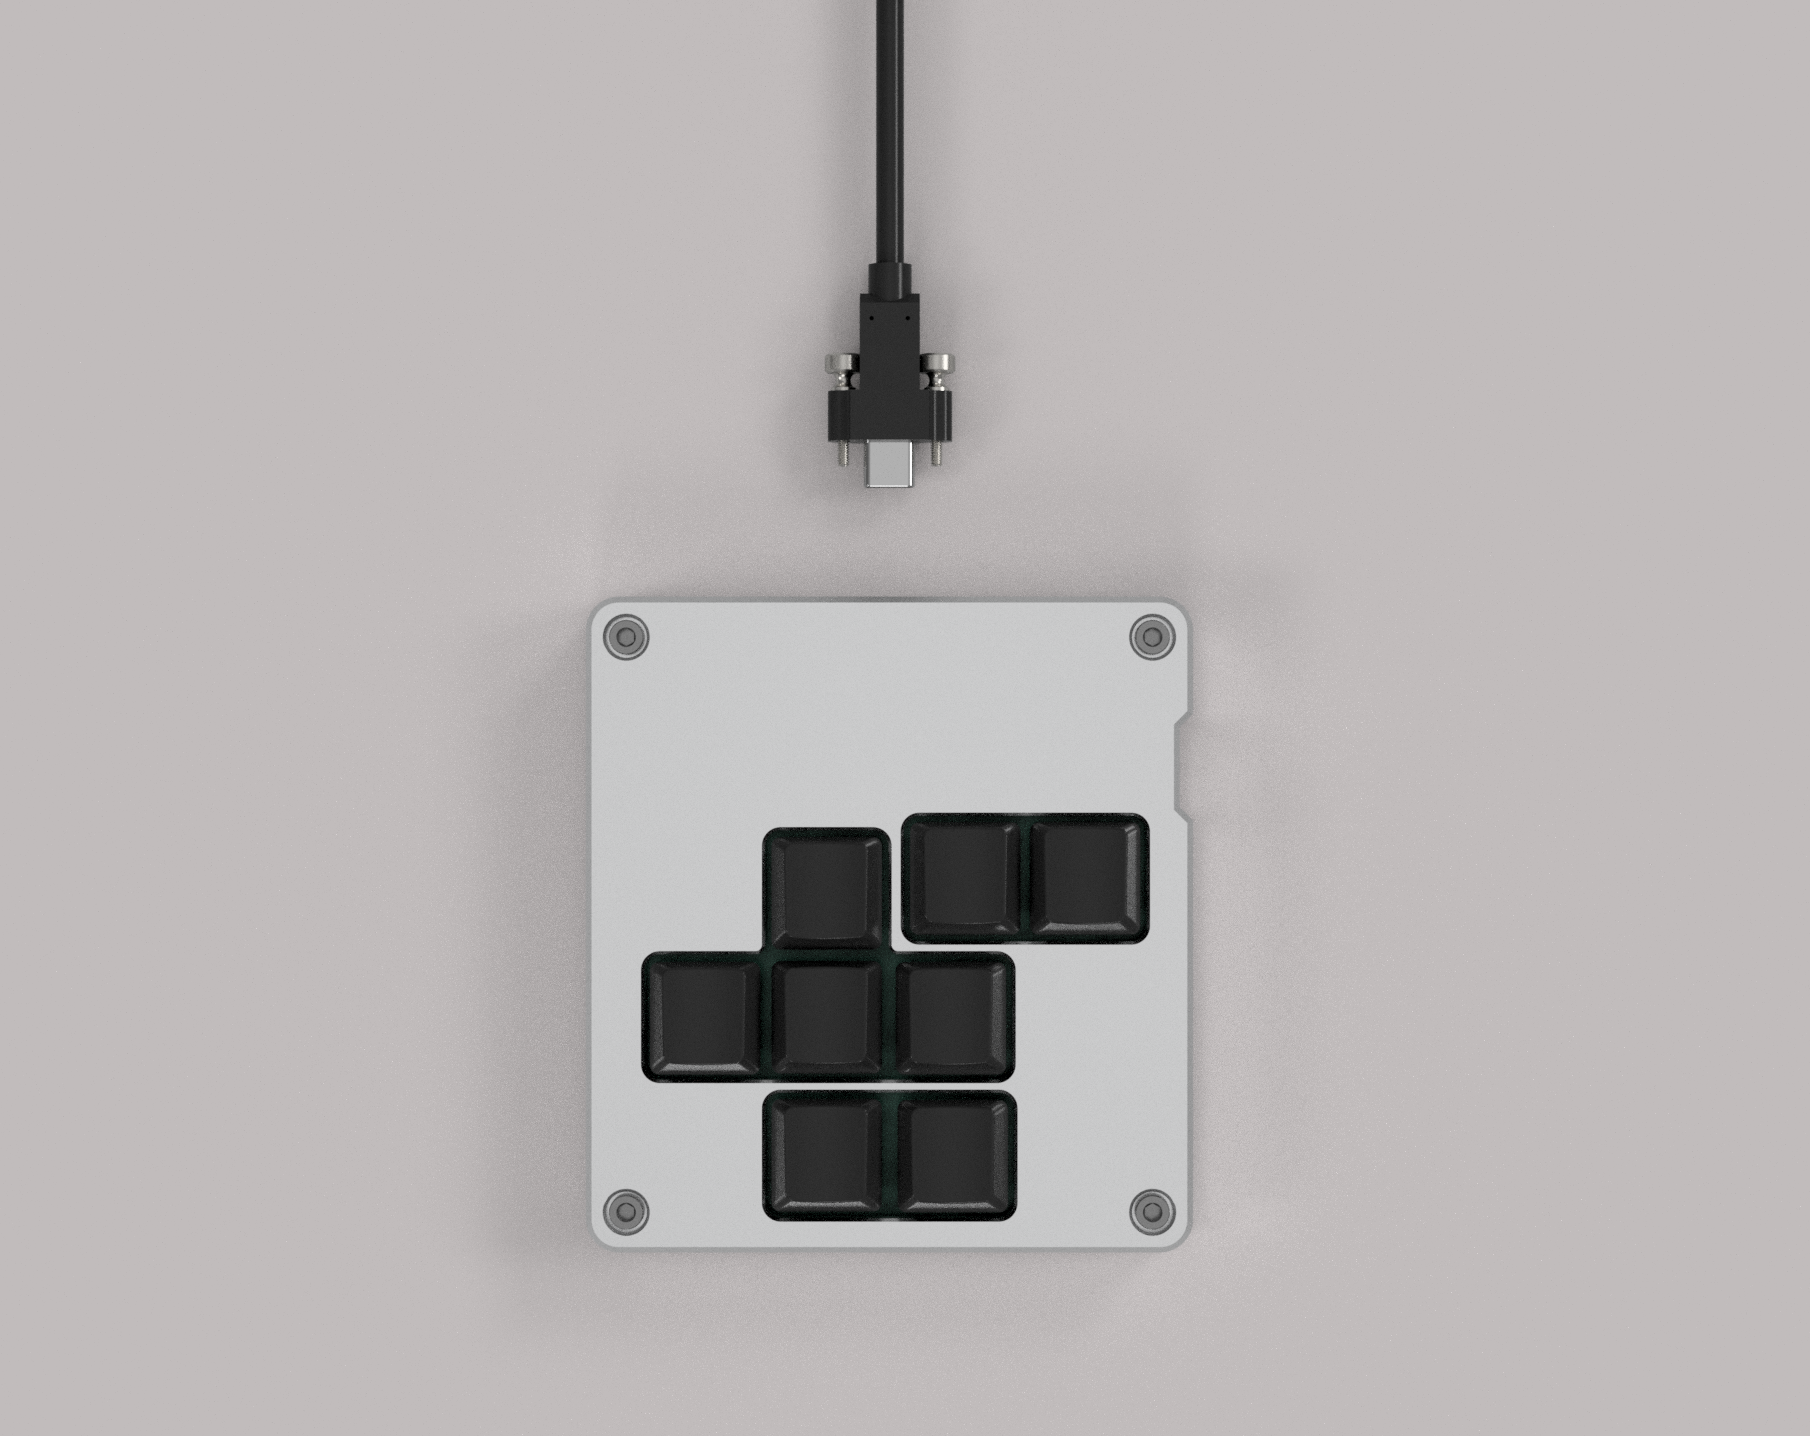
- 1 TrackerKB Unit
- 1 USB Type-C Cable
- 1 H2.5 Hex Screwdriver
- 1 Paperclip (for shorting the boot pins)
Download Keyboard Firmware
Both keyboard downloadable UF2 firmware are provided.
.
├── pico-m8-keyboard-m8c.uf2
└── pico-m8-keyboard-web-display.uf2
Steps for Flashing Keyboard Firmware
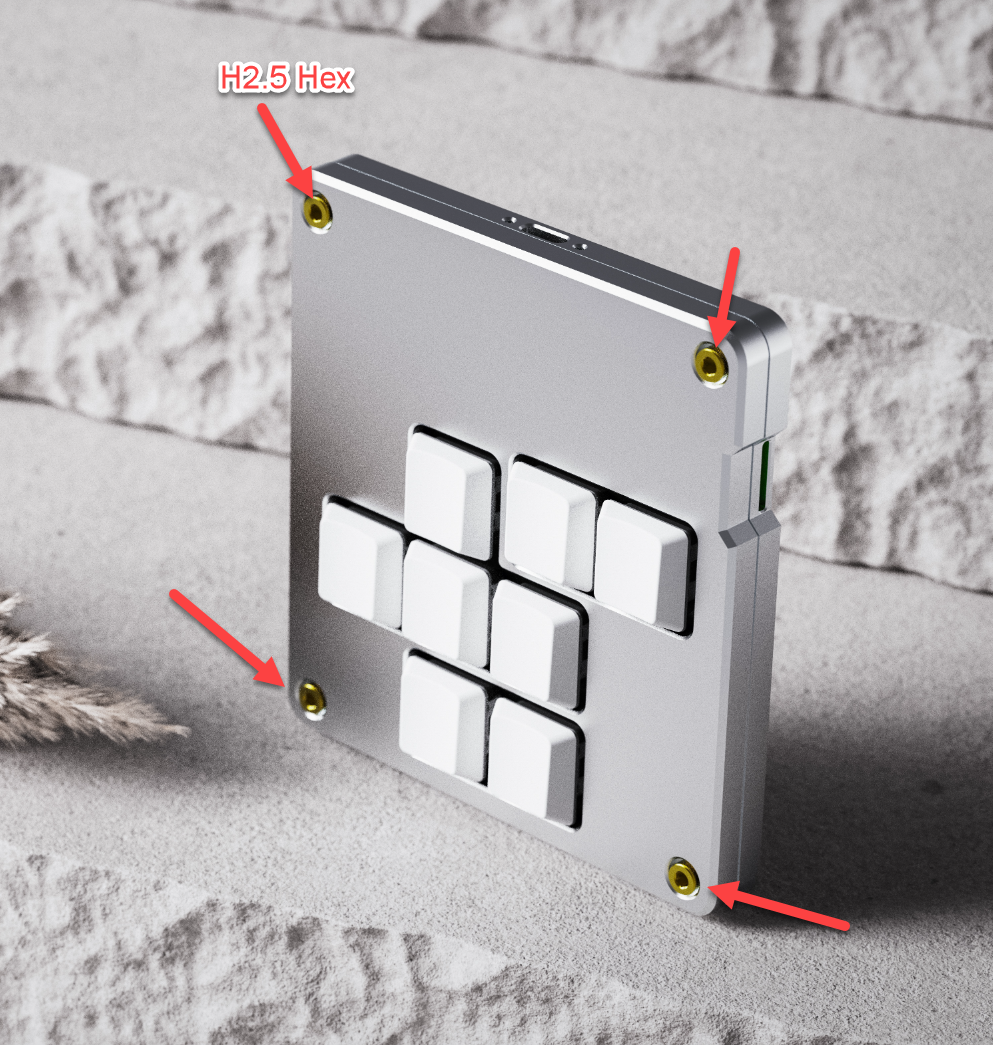
Step 1: Unscrew the Enclosure
Use the H2.5 Hex Screwdriver to unscrew the four screws on the enclosure.
Step 2: Access Raspberry Pi Pico’s Loader Mode
- Use the paperclip to short the boot pins and hold it.
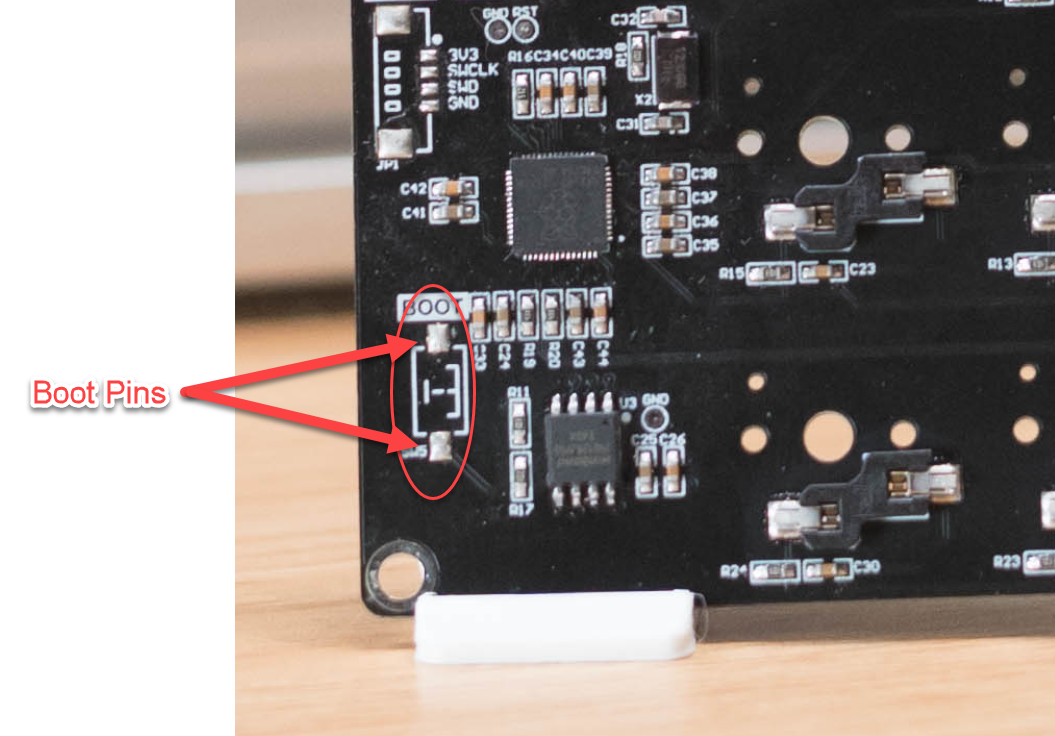
- Connect the USB Cable to the PC.
- Release the boot pin (paperclip) shortly after connecting the USB cable.
A new disk drive should now be mounted.
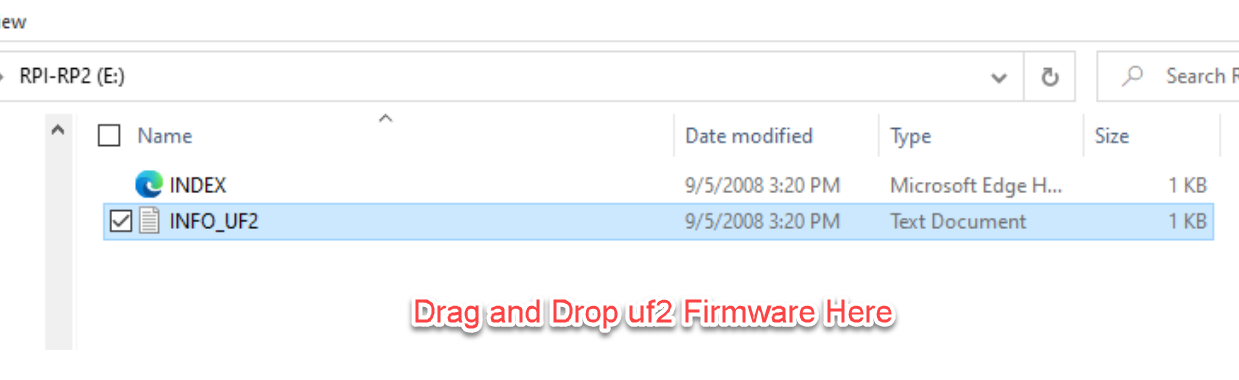
Step 3: Drag and Drop the Firmware to the Disk
Simply drag and drop the new firmware file to the mounted disk. The drive will then unmount itself and the device will boot with the new firmware.
Document Information
- Author: Hsuan Han Lai (Edward Lai)
- Link: https://adwuard.github.io/trackerkb-keyboard-firmware-flash/
- Copyright: Free to share - Non-commercial - No derivatives - Attribution required (Creative Commons 3.0 License)